So you did it! Welcome to the industrial piercing club. That bar looks absolutely killer, but now the real journey begins: healing. Think of this guide as your new BFF, here to walk you through everything from day one to a stunning, fully-healed masterpiece. The secret sauce? A solid cleaning routine and a whole lotta patience.
Your New Industrial Piercing: What to Expect
Congrats on snagging one of the coolest cartilage piercings out there! The next few weeks are super important, and knowing what’s normal will save you a ton of stress.
You can definitely expect some swelling, redness, and general tenderness around both piercing sites. This is totally normal—it's just your body’s way of saying, "Whoa, what's this new bling?"
Your main job right now is to keep it clean and avoid any and all irritation. Seriously, think of yourself as a bodyguard for your new piercing. Protect it from snags, bumps, and pressure at all costs.
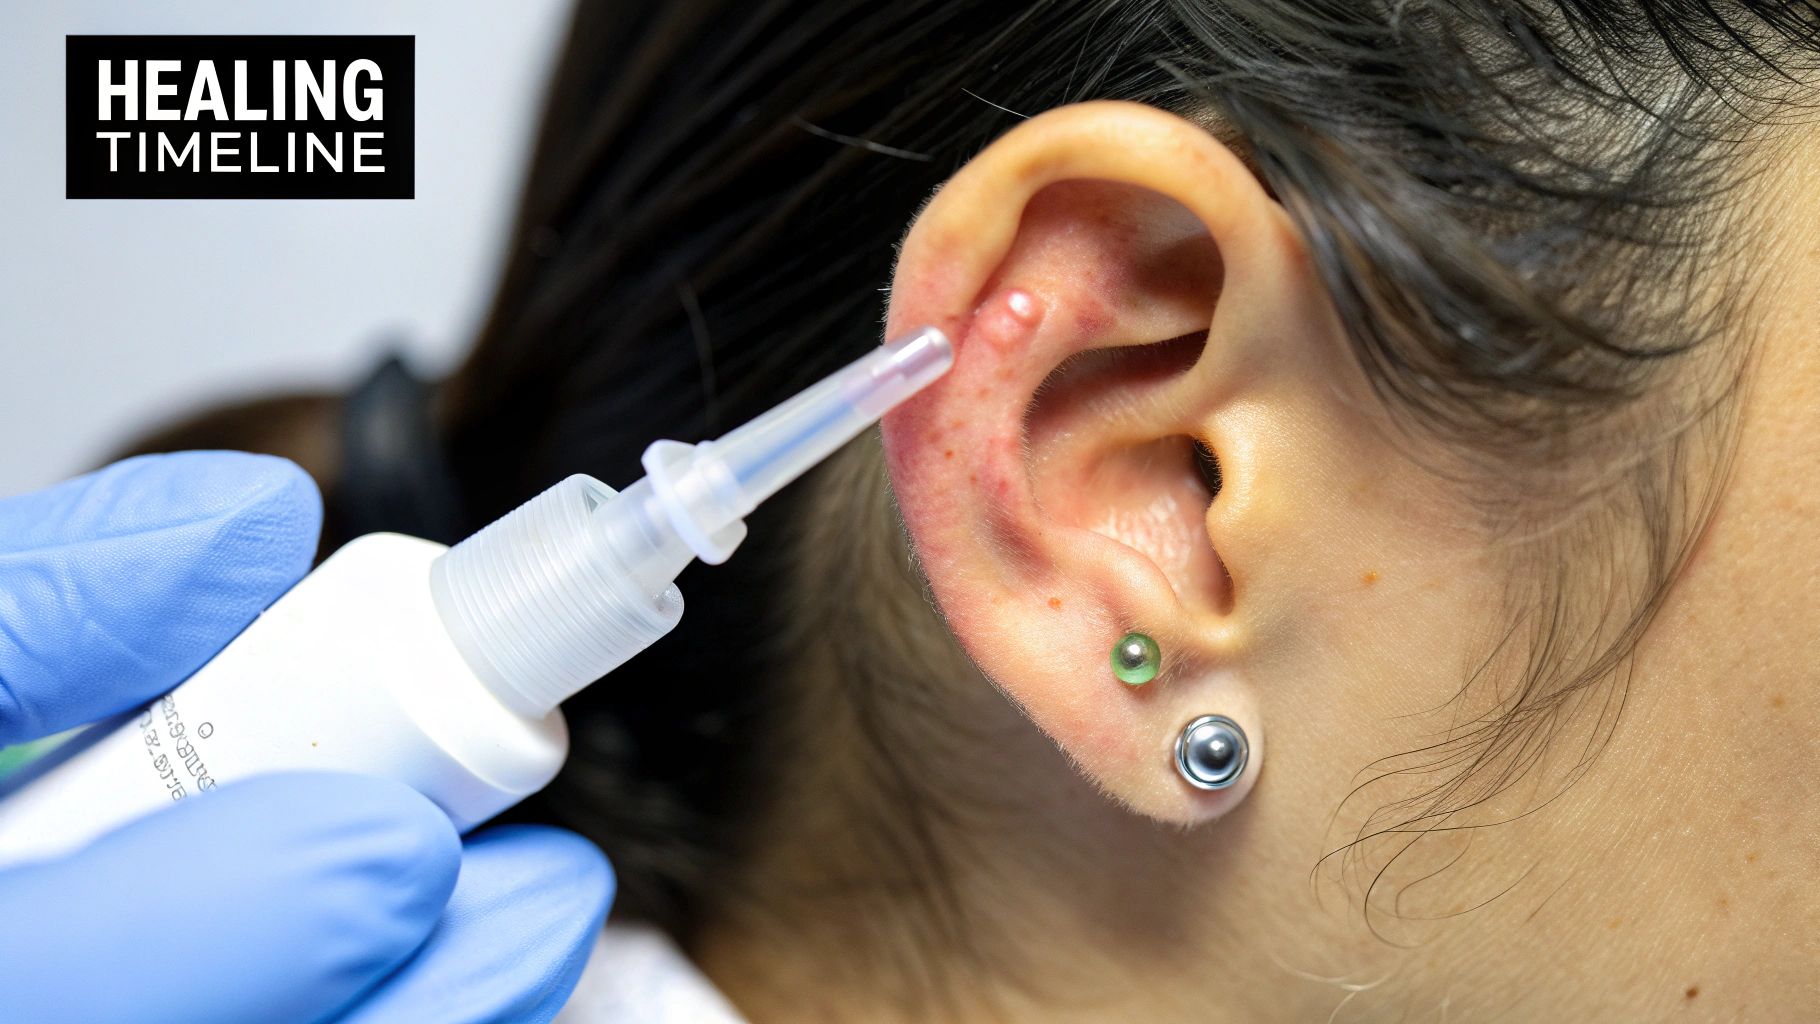
The Healing Timeline Breakdown
The healing journey for an industrial piercing is more of a marathon than a sprint. While everyone heals a bit differently, you can generally expect the full process to take anywhere from 3 to 9 months. Sometimes, it can even take up to a year.
How long it takes really depends on your body, how on-point you are with aftercare, and how well you avoid bumping it. For a deeper dive into how cartilage heals compared to other spots, check out our guide on healing times for popular piercings.
Here's a quick summary of the healing stages so you know what to expect.
Industrial Piercing Healing At a Glance
| Healing Stage | Typical Duration | What to Expect |
|---|---|---|
| Inflammatory Phase | Week 1 - Month 1 | This is the most intense part. Expect redness, swelling, tenderness, and maybe some clear or whitish fluid (lymph). Your job is to clean it religiously. |
| Proliferative Phase | Month 1 - Month 6 | Swelling and tenderness will start to chill out. You'll see "crusties" form around the jewelry—don't pick them! Redness will fade, but it’s still very much healing. |
| Maturation Phase | Month 6 - Month 9+ | The piercing will look and feel much better, but don't be fooled! The tissue inside is still strengthening. Keep up with cleaning, but you can reduce the frequency. |
Remember, this is just a general guide. The most important thing is to listen to your body and stick with the cleaning routine your piercer gave you.
This infographic breaks down the major milestones in your healing journey, from the initial swelling all the way to that final, fully healed sparkle.
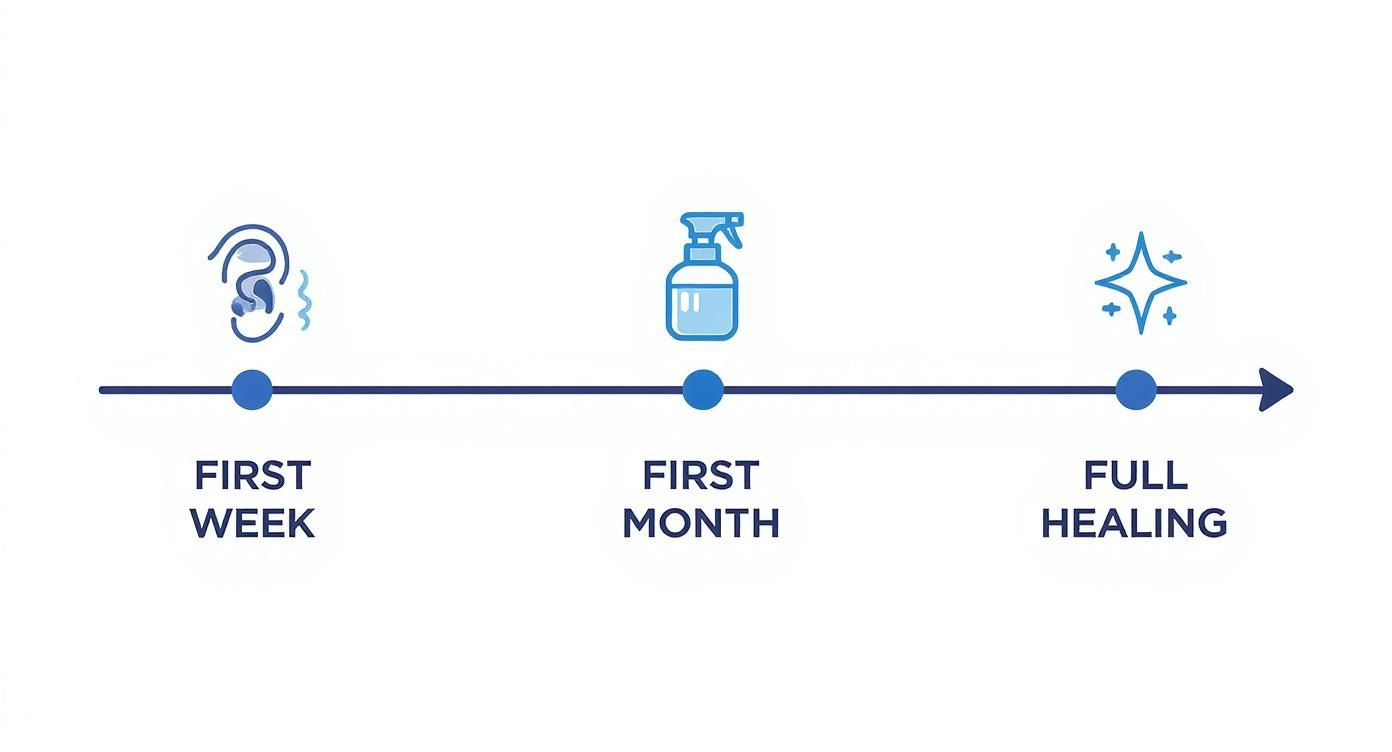
As you can see, that first month is the most hands-on phase, requiring dedicated cleaning. The following months are all about maintenance and being patient while your body does its thing. Keep cleaning the piercing twice daily with a sterile saline solution and avoid anything that could mess with the healing process, like touching it with unwashed hands or sleeping on that side.
Key Takeaway: Patience is your absolute best friend here. Rushing things or getting lazy with your aftercare can lead to nasty irritation bumps and major setbacks. Stick with it, and you'll be rewarded with a beautifully healed industrial piercing that will last a lifetime.
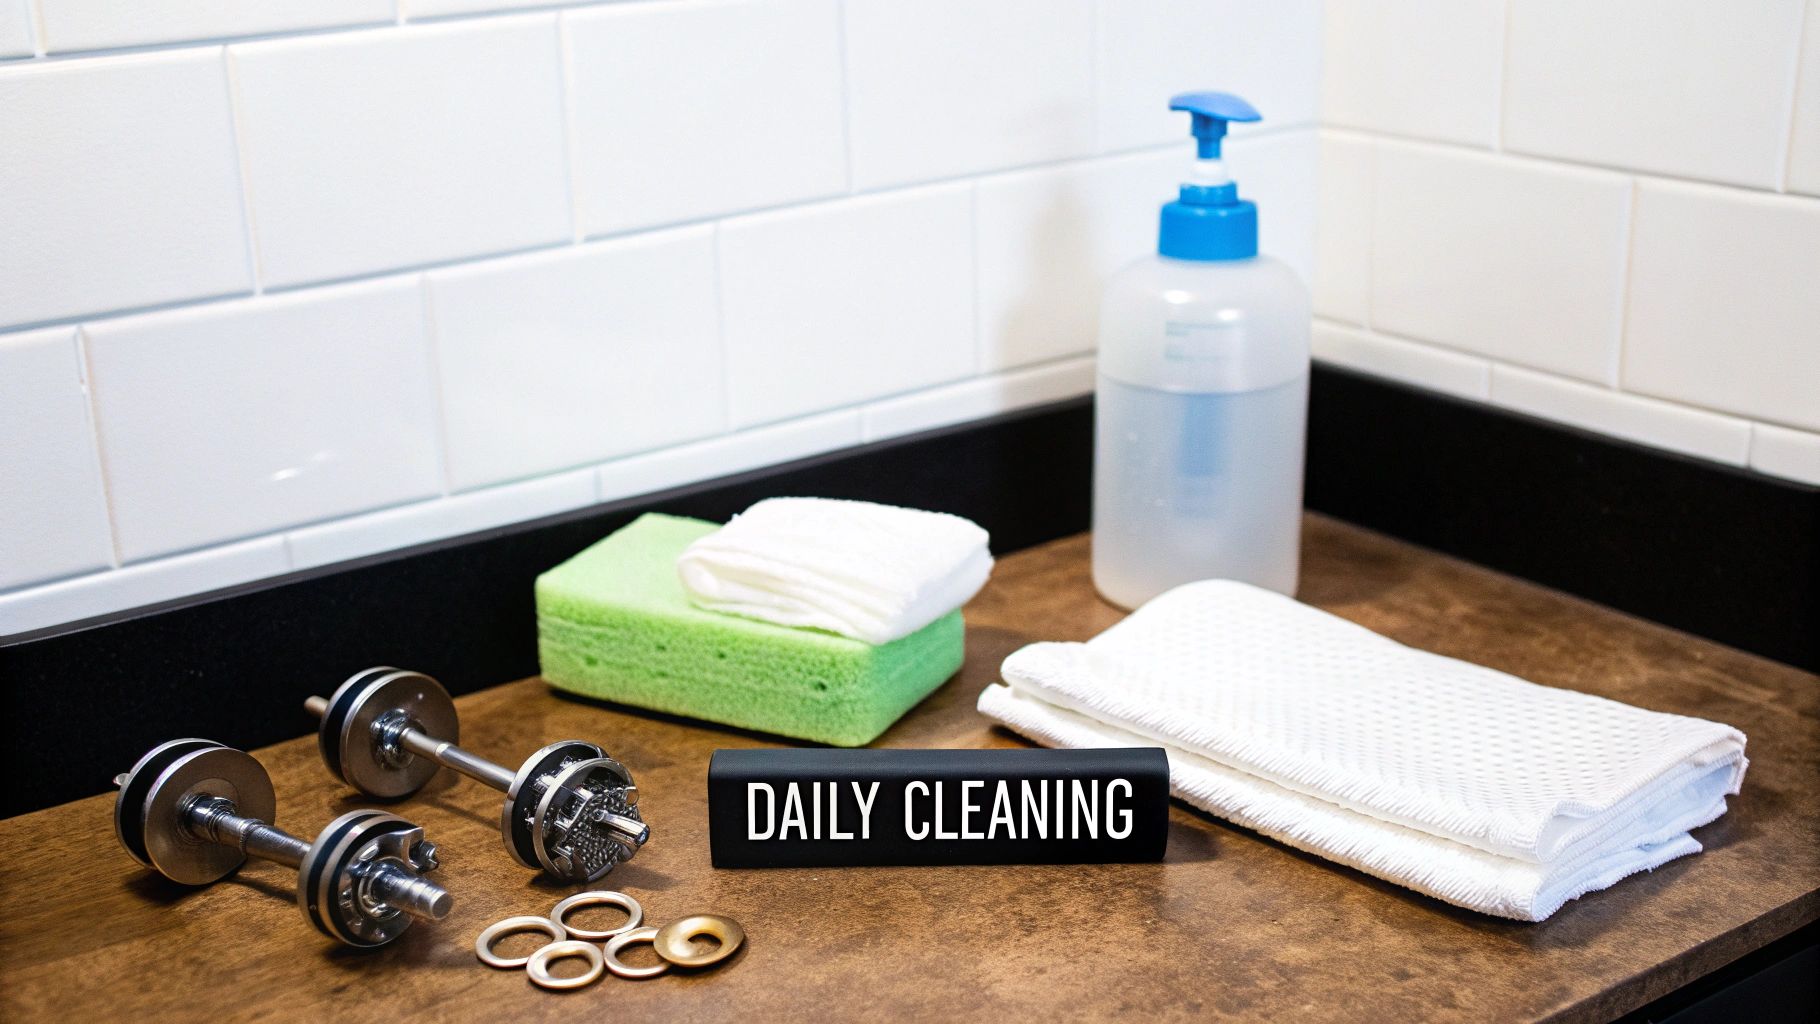
Mastering Your Daily Cleaning Routine
Feeling a little overwhelmed by the whole cleaning process? Don't be. We’re about to break it down into a simple, manageable routine that’ll become second nature in no time. Your main mission here is to clean your new industrial piercing twice a day—once when you wake up and once before bed. That’s it.
The whole point is to be gentle but thorough. This isn't a deep scrub; it's a careful cleanse designed to keep bacteria at bay and give your ear the peaceful environment it needs to heal.
Choose Your Cleaning Champion Wisely
Let's talk products, because what you use matters. A lot. The absolute gold standard for piercing aftercare is a sterile saline wound wash. This stuff is a total game-changer. It’s gentle, isotonic (which just means it matches your body's natural salinity), and it comes in a sterile can, so you know it’s pure from the first spray to the last.
You might be tempted to mix up your own saltwater solution at home, but please, just don't. It's almost impossible to get the salt-to-water ratio exactly right, and you’re basically inviting bacteria from your kitchen to the party. Stick with the store-bought sterile saline—your piercing will thank you.
Proper hygiene has become a huge deal, so much so that the global piercing aftercare spray market was valued at USD 150 million in 2024 and is still growing. If you're curious, you can learn more about the growth of the piercing aftercare market from this report.
So, how do you actually use it? Here's the play-by-play:
- Wash Your Hands: First things first, always wash your hands thoroughly with soap and water before you even think about touching your piercing.
- Saturate Your Gauze: Grab a piece of non-woven sterile gauze. You'll want to avoid cotton balls or Q-tips, as their little fibers can get snagged on your jewelry. Completely soak the gauze with your saline solution.
- Gentle Cleansing: Carefully press the saturated gauze against one of the piercing holes for a few seconds. This helps soften any "crusties" (that dried lymph fluid we talked about earlier). Then, gently wipe away any buildup.
- Repeat on the Other Side: Use a fresh piece of gauze and do the exact same thing for the second piercing hole. Be meticulous but gentle!
- Pat Dry: Once it's clean, gently pat the area dry with a clean paper towel. Ditch the cloth towel for this job, as it can harbor bacteria and snag your barbell.
The LITHA Philosophy
Beyond your twice-daily cleanings, your new mantra is LITHA: Leave It The Heck Alone. This is probably one of the most important—and most difficult—parts of healing an industrial piercing.
Pro Tip: Your body is an incredible healing machine. Twisting, turning, or playing with your barbell doesn't help it heal faster. In fact, it does the exact opposite. It introduces bacteria and causes irritation that can lead to those dreaded piercing bumps.
Between cleanings, your only job is to protect your piercing from getting snagged, bumped, or slept on. Let the saline do its job, and then let your body do the rest. For more details on excellent aftercare products, you can explore our guide to H2Ocean aftercare solutions, which are designed to make this whole process even easier.
The Dos and Don'ts of Industrial Piercing Aftercare
Let's get real about what you absolutely should—and shouldn't—do while your new industrial is healing. Honestly, getting this part right is the single most important factor in whether you end up with a happy, healthy piercing or a total nightmare.
Think of these as the golden rules for your entire healing journey.
We'll start with the good stuff first: all the things you should be doing. These simple habits will make all the difference in keeping your piercing calm and steering clear of irritation.
What You Should Do
Keeping up with a good routine is your best defense against common piercing problems. It's not about being obsessive; it's about being consistent and gentle.
-
Clean Twice Daily: This is completely non-negotiable. Grab your sterile saline spray and gently flush the area, once in the morning and once at night. This keeps nasty bacteria away and helps rinse off any crusties without having to pick at them.
-
Dry with Fresh Paper Towels: After cleaning, always pat the area dry with a clean, disposable paper towel. Your regular bathroom hand towel is a cozy home for bacteria, and its little fibers can easily snag on your new jewelry. No thanks.
-
Keep Your Bedding Clean: Your pillowcase is a magnet for oils, hair products, and germs. Make it a habit to swap it out every couple of days to give your healing ear a fresh surface to rest near.
Pro Tip: Go buy a travel pillow! Sleeping with your ear nestled in the donut hole is an absolute game-changer. It prevents you from putting any direct pressure on your industrial, which is one of the main causes of those dreaded irritation bumps.
What You Absolutely Should Not Do
Alright, time for some tough love. Avoiding these common mistakes is just as important as your cleaning routine. These are the habits that can seriously derail your healing and lead to a world of frustration.
Seriously, just don't do these things.
-
Don't Touch or Twist It: Your hands are covered in germs, period. Every time you touch, twist, or fiddle with your barbell, you’re basically sending an open invitation for bacteria to cause problems. You're also aggravating the delicate tissue that's trying to heal. Your new mantra is LITHA (Leave It The Heck Alone).
-
Don't Sleep on It: Yes, we just mentioned the travel pillow, and we're saying it again because it's that important. Constantly sleeping on your new piercing causes pressure and friction. This leads to swelling, bumps, and can even change the angle of the piercing itself.
-
Don't Use Harsh Chemicals: This is a huge one. Stay far, far away from things like rubbing alcohol, hydrogen peroxide, antibacterial soaps (like Dial), and any kind of ointment or cream. These products are way too aggressive for a healing piercing. They cause extreme dryness, kill off the good cells trying to heal you, and will only make things worse.
-
Don't Submerge It in Water: For the first couple of months, you need to avoid soaking your piercing in bodies of water. That means no pools, hot tubs, lakes, or oceans. These places are teeming with bacteria that can cause a truly nasty infection. Quick, clean showers are perfectly fine!
-
Don't Change the Jewelry Too Soon: We know, you're dying to put in some cool new jewelry. But changing that initial barbell before your piercing is fully healed—which can take 3 to 9 months, or even longer—is a recipe for disaster. It can re-traumatize the piercing and set your healing clock all the way back to day one. Patience is everything here.
How to Troubleshoot Common Healing Problems
Even when you follow your aftercare routine to the letter, your new industrial can still act up. First off, don't panic! It’s incredibly common for industrial piercings to have a few dramatic moments while they’re healing. This section is your go-to guide for figuring out what's wrong and how to get things back on track.
Most of the time, the problem is simple irritation, not a full-blown infection. Your first step should always be to play detective. Think back over the last few days—did you accidentally sleep on it? Snag it with a hairbrush? Maybe you started using a new shampoo or hairspray? Finding the cause is half the battle.
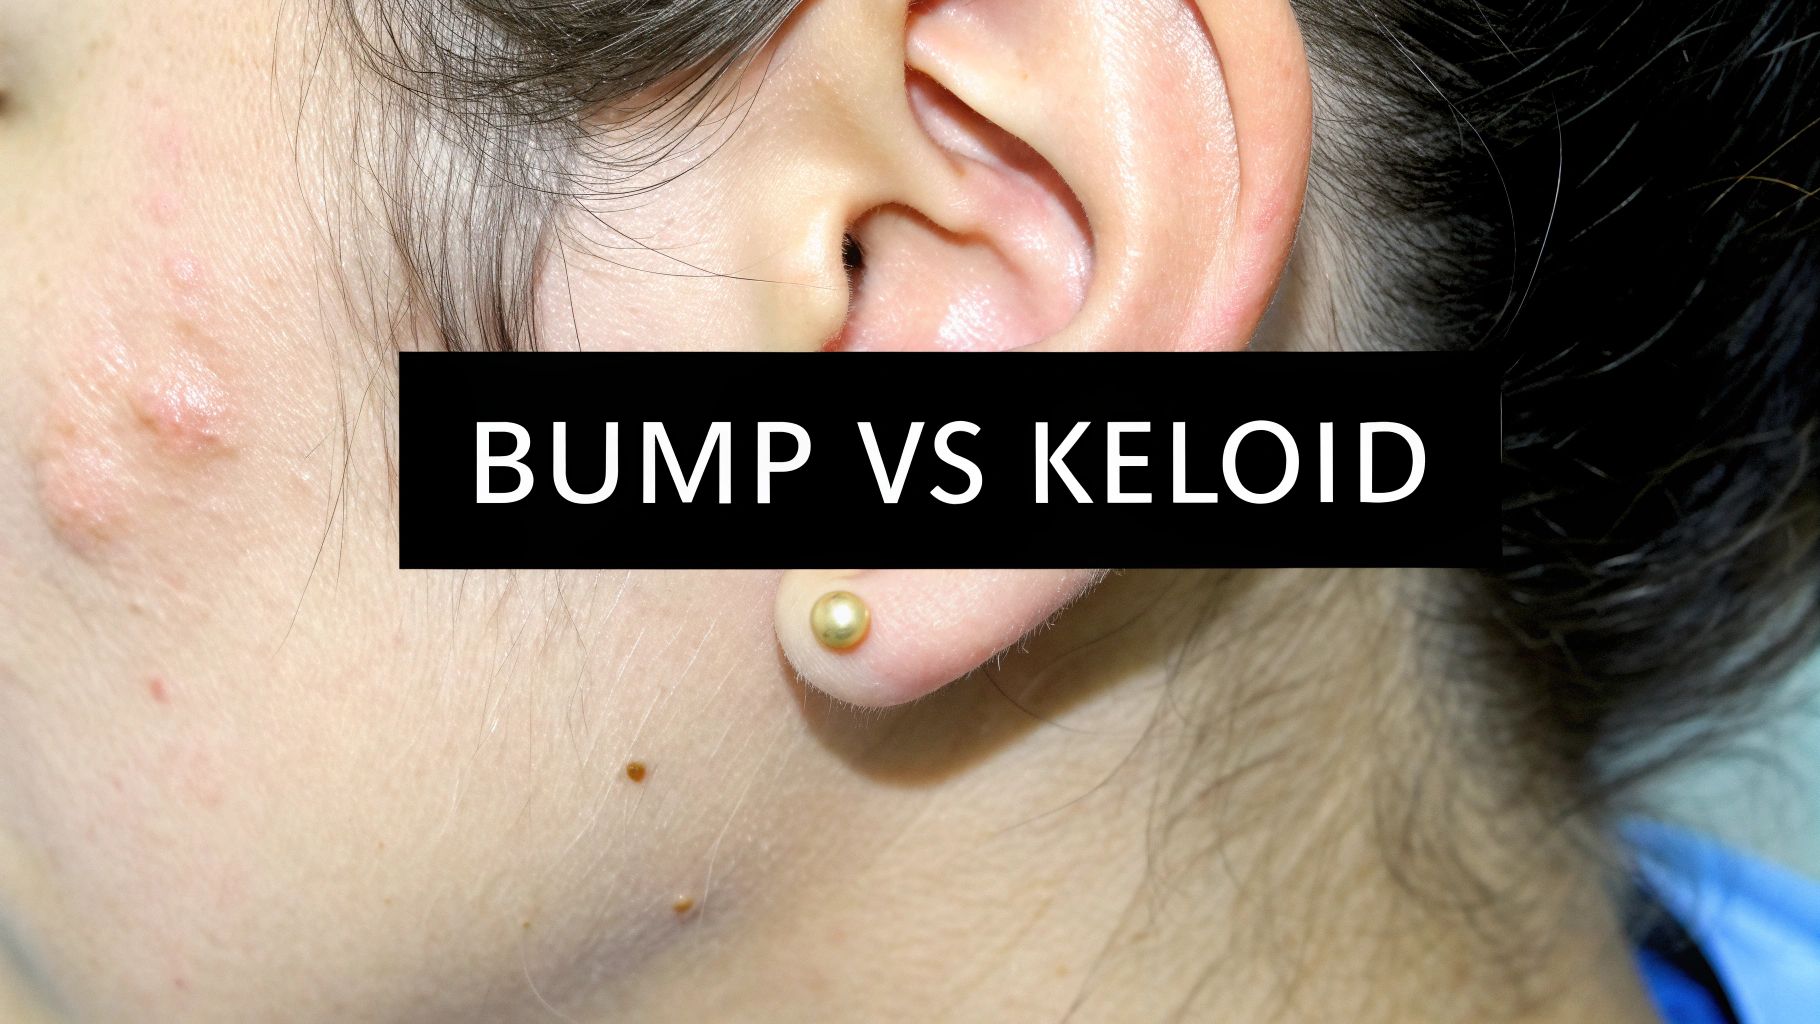
Dealing with Irritation Bumps
Ah, the dreaded irritation bump. These annoying little red bumps that pop up around the piercing holes are hands-down the most common issue with industrials. They look scary, but they’re usually just your body’s way of screaming, "Hey, something is bothering me!"
The real key to making them disappear is to eliminate whatever is causing the irritation in the first place. Once you do that, they typically go away on their own.
- Stick to Your Routine: This is the time to be extra diligent with your sterile saline soaks. Don't be tempted to over-clean, as that can make things worse. Just be consistent with your twice-daily routine.
- Check Your Habits: Are you absolutely sure you're not sleeping on it? A travel pillow is a non-negotiable hack here—sleep with your ear in the hole. Be mindful of anything that gets near your ear. Hair, headphones, hats, and even glasses can all be culprits.
- Try a Warm Compress: A gentle, warm compress can sometimes provide relief. Soak a clean piece of non-woven gauze in warm, sterile water (not hot!) and hold it gently on the bump for a few minutes. This can soothe the area, but don't overdo it.
What About Swelling and Soreness
A bit of swelling is totally normal for the first few weeks. But if you notice it coming back later in the healing process, that's a clear sign of irritation, often triggered by a bump or snag. The best thing you can do is baby it. Stick to your saline soaks and strictly follow the LITHA (Leave It The Heck Alone) principle.
If the swelling is significant and makes the barbell look like it's sinking into your skin, you need to contact your piercer immediately. Your jewelry might be too short to accommodate the swelling. They may need to swap it for a longer bar to prevent pressure, which can lead to embedding.
Key Insight: Most piercing problems boil down to three things: pressure, friction, or moisture. If you can control those three factors, you'll solve 90% of your healing issues.
Is It an Infection or Just Irritation?
This is the big question that sends everyone into a tailspin. It’s absolutely crucial to know the difference because a real infection requires medical attention. Irritation, on the other hand, just requires patience and better habits.
Use this table to help you figure out what’s going on with your piercing.
Irritation Bump vs Infection What's the Difference?
Knowing whether you're dealing with a simple bump or a serious infection is critical. Here's a quick breakdown to help you tell them apart.
| Symptom | Irritation Bump | Infection |
|---|---|---|
| Appearance | A small, localized reddish bump or pimple-like spot near the piercing hole. Can be filled with clear or whitish fluid. | Widespread, angry redness and significant swelling that radiates from the piercing site. The area may feel tight and shiny. |
| Discharge | Usually clear, whitish, or slightly pinkish fluid (lymph). Can form "crusties" when it dries. | Thick, cloudy discharge that is yellow, green, or brownish. It often has a foul odor. This is pus. |
| Pain Level | Can be tender or sore to the touch, but the pain is generally mild and localized to the bump itself. | Throbbing, persistent, and often intense pain. The entire ear may feel painful, even without being touched. |
| Heat | The immediate area might feel slightly warm, but it won't feel noticeably hot compared to the rest of your skin. | The area around the piercing will feel distinctly hot to the touch, a classic sign of your body fighting infection. |
If your symptoms are lining up with the "Infection" column—especially if you see thick, colorful discharge and feel radiating heat—do not remove the jewelry. See a doctor right away. They will likely prescribe antibiotics. Removing the barbell can cause the piercing holes to close up, trapping the infection inside your ear, which could lead to a much more serious abscess.
Choosing Jewelry for a Happy Healed Piercing
You won't be changing your industrial bar for a good long while, but the jewelry you start with is absolutely critical for a smooth healing process. Think of your initial barbell as the foundation for your piercing's future health and happiness.
Your professional piercer will almost certainly start you off with a bar made from implant-grade titanium. This isn't just a preference; it's the gold standard for a reason. Titanium is incredibly biocompatible, which is a fancy way of saying your body is highly unlikely to have a negative reaction to it. It's also nickel-free—a huge plus for anyone with sensitive skin.
Why Material and Size Matter Most
Besides the material, the length of your initial barbell is super important. Your piercer will intentionally use a longer bar than you'll need once it's healed. This isn't a mistake! That extra space is crucial to accommodate the initial swelling without putting any pressure on your fresh piercing. A bar that's too tight can lead to some serious complications, including embedding, which is something you definitely want to avoid.
Getting this initial setup right is a key part of your aftercare for industrial piercing. It sets the stage for success long before you even start thinking about saline sprays and cleaning routines. It’s clear people are taking this seriously, too. The market for piercing aftercare sprays is projected to grow at a CAGR of 7% from 2025 to 2033, which just goes to show how much everyone values a healthy piercing. You can dive deeper into these trends in piercing aftercare from industry research.
Pro Tip: Trust your piercer's judgment on sizing. They are experts at measuring your unique anatomy to ensure the perfect fit for healing. If you want to get a better handle on how it all works, check out our guide on industrial barbell sizing.
The Fun Part: Styling Your Healed Industrial
Once you’ve made it through the entire healing journey (which can take up to a year, so be patient!), the real fun begins. Swapping out that plain starter bar for something that screams you is one of the best parts of having an industrial piercing.
When you're ready to make the switch, you can explore an entire universe of styles:
- Different Materials: Once fully healed, many people find they can wear barbells made from 316L surgical steel, which opens up a world of colors and styles.
- Cool Designs: From intricate arrow designs to elegant chains that drape across your ear to dazzling gems, the options are practically endless.
- Custom Setups: You can even get creative and use two separate pieces of jewelry connected by a chain for a totally unique look.
Just remember, choosing high-quality, body-safe jewelry is a lifelong commitment to keeping your piercing happy. Always buy from a reputable source to ensure your new bling is as safe as it is stylish.
Got Questions About Your Industrial Piercing?
We hear you! Industrial piercings get a ton of questions, and for a good reason. It's a really unique piercing that needs some extra love and attention to heal well. To help you feel totally confident, we've put together answers to the most common questions we get.
Think of this as your go-to guide for those "is this normal?" moments. Let's dive in and clear up some of the biggest concerns.
When Can I Finally Change My Industrial Barbell?
This is the number one question on everyone's mind, but the answer is all about patience! You absolutely have to wait until your industrial piercing is 100% healed. That can take anywhere from 3 to 9 months, and for some people, it might even stretch to a full year.
Seriously, swapping out your jewelry too soon is just asking for trouble. It's a surefire way to cause major irritation, invite those dreaded bumps to the party, introduce bacteria, and completely reset your healing clock.
The smartest move? Book a check-up with your piercer when you think you're ready. They have a trained eye and can tell you for sure if the tissue is strong enough for a change. Plus, they can help you with that first swap to make sure it's done safely and hygienically.
Don't rush it! A few more months with your starter jewelry is a small price to pay to avoid months of dealing with a painful, angry piercing.
Are Bumps on My Industrial Piercing Normal?
While they're definitely a nuisance, developing irritation bumps on an industrial is extremely common. These aren't typically infections. More often, they're just your body's dramatic overreaction to some kind of friction or pressure.
These bumps usually look like small, reddish pimples right next to the piercing holes. The trick is to play detective and figure out what's causing the irritation.
- Check your habits: Did you sleep on it? Snag it with a hairbrush? Let your headphones rub against it all day? Be honest with yourself and eliminate the culprit.
- Stay the course with cleaning: Just stick to your simple saline routine. Don't start experimenting with weird remedies you found on the internet. Keep it clean and let your body do its thing.
- A travel pillow is your best friend: This is a non-negotiable life hack. Sleeping with your ear nestled in the donut hole keeps all pressure off the piercing, which can make a world of difference.
Now, if you see thick yellow or green pus, feel an intense throbbing pain, or the area is hot to the touch, that's a different story. It could be an infection, and it's time to see a doctor.
Can I Clean My Piercing With Anything Besides Saline?
The short answer is a hard no. You should only use a sterile saline wound wash or a gentle cleanser specifically recommended by your professional piercer.
Please, stay far, far away from harsh products. This list includes:
- Rubbing alcohol
- Hydrogen peroxide
- Antibacterial ointments (like Neosporin)
- Scented or antibacterial soaps (like Dial)
These products are way too aggressive for a delicate, healing piercing. They can actually destroy the new skin cells your body is working so hard to build, which leads to major dryness, irritation, more bumps, and a whole lot of other complications.
Saline solution is perfectly balanced to clean your piercing without causing any harm. It's the safest and most effective choice, period.
Ready to find your new look? Once you're healed up, it's time to have some fun! Shop our full collection of amazing industrial barbells today at https://bodycandy.com and show off your style