Thinking about adding another piercing to your ear setup? If you're ready to move beyond a single stud, the 2nd ear lobe piercing is one of the best next steps you can take. It’s a super popular way to start building your curated ear because it's endlessly stylish, versatile, and thankfully, pretty easy to heal.
Most people describe the feeling as a quick, sharp pinch that’s literally over in a couple of seconds.

Is a Second Lobe Piercing Right for You?
So, you’re staring at your ear in the mirror, picturing where a cute new stud or tiny hoop would go. Sound familiar? Getting a second lobe piercing is the perfect way to level up your ear game. It acts as a great bridge between a classic single piercing and a more complex, multi-piercing look.
What's awesome is that it adds just enough personality without the major commitment or extended healing time that comes with cartilage piercings.
This piercing is all about finding the right placement for your ear. You can go for a timeless, evenly spaced look next to your first piercing, or you can get creative. A super popular trend right now is the "stacked lobe," where piercings are placed much closer together for a more decorated vibe. The best part? It works on almost any ear shape, making it a choice that looks good on pretty much everyone.
Why It's a Fan Favorite
There's a reason the 2nd lobe piercing is consistently one of the most requested piercings.
- Super Low on the Pain Scale: If you're worried about the ouch-factor, don't be. Most people rate the pain at a 2 or 3 out of 10. It’s a very fast pinch, and the stinging sensation fades almost immediately.
- Heals Up Quick: Your earlobe is soft, fleshy tissue with great blood flow, which means it heals way faster than cartilage. With good aftercare, you can expect it to be fully healed in about 6 to 8 weeks.
- So Many Ways to Style It: This is where the fun begins. From tiny flat back labrets to dainty huggie hoops, the styling possibilities are endless. It's the perfect spot to add a little pop of color, a touch of sparkle, or an interesting shape.
- The Perfect Foundation: Think of it as the first step to a bigger project. It sets the stage perfectly for adding more down the line, whether it's a third lobe, a helix, or a statement conch piercing.
The second lobe is your canvas. It's less about following a rigid rule and more about finding a spot that accents your unique anatomy and just makes you feel good.
To give you a better idea, let's see how it compares to some other popular ear piercings. This chart will give you a clear picture of what you're signing up for in terms of pain, healing, and styling.
| Piercing Type | Pain Level (1-10) | Healing Time | Jewelry Versatility |
|---|---|---|---|
| 2nd Lobe | 2-3 | 6-8 Weeks | Very High |
| Helix (Cartilage) | 5-7 | 6-12 Months | High |
| Tragus | 4-6 | 6-12 Months | Medium |
| Rook | 6-8 | 9-12 Months | Medium |
Why a Professional Piercer Is Non-Negotiable
Let’s get one thing straight: who does your 2nd ear lobe piercing is the most important decision you'll make. Seriously. This isn't the time to hit up a mall kiosk for a two-for-one deal or let your friend with an Amazon "piercing kit" have a go. You’re talking about your body, and you deserve a safe, clean, and perfectly placed piercing that will heal without a hitch.
Choosing a professional piercer isn't just about safety; it's about respecting your body. A great piercing experience should feel exciting and professional, not sketchy and rushed. You're choosing between someone who has dedicated their career to the craft and a retail employee with a few hours of training.

Needle Vs. Gun: The Undeniable Winner
Any reputable, professional piercer will only use a single-use, hollow, sterile needle. That’s it. End of story.
Piercing guns are a massive red flag. They operate on blunt force trauma, slamming a dull stud through your earlobe. This shatters the surrounding tissue, leading to way more pain, a longer and more complicated healing process, and a much higher risk of infection. Because they're made of plastic, they can't even be properly sterilized in an autoclave.
A hollow needle, on the other hand, is designed for this. It’s incredibly sharp and cleanly removes a tiny piece of tissue to create a perfect little channel for your new jewelry. It’s less traumatic for your body, which means a smoother, faster heal. If you're still on the fence, we get into all the gritty details of why you should always say no to piercing guns right here.
A professional piercer using a needle offers precision and safety. A piercing gun offers convenience at the cost of your tissue health. The choice is clear.
What to Look for in a Studio
When you walk into a piercing studio, your gut instinct is your best friend. It should feel clean, professional, and welcoming. If something feels off, it probably is. Just turn around and walk out.
Here’s a quick checklist for spotting a quality studio:
- Visible Autoclave: This is a must. An autoclave is a medical-grade sterilization machine. It's the only way to ensure tools are completely sterile. A good studio will have it in plain sight and won't mind showing you their spore test results (sterilization logs).
- Impeccable Cleanliness: The whole place should be spotless, but pay special attention to the piercing room itself. We're talking clean surfaces, disposable barriers, and fresh gloves for everything.
- An Impressive Portfolio: A piercer who’s proud of their work will have a portfolio ready to show you. Ask to see photos of healed piercings, especially lobes. You’re looking for straight, well-placed piercings that look healthy and happy.
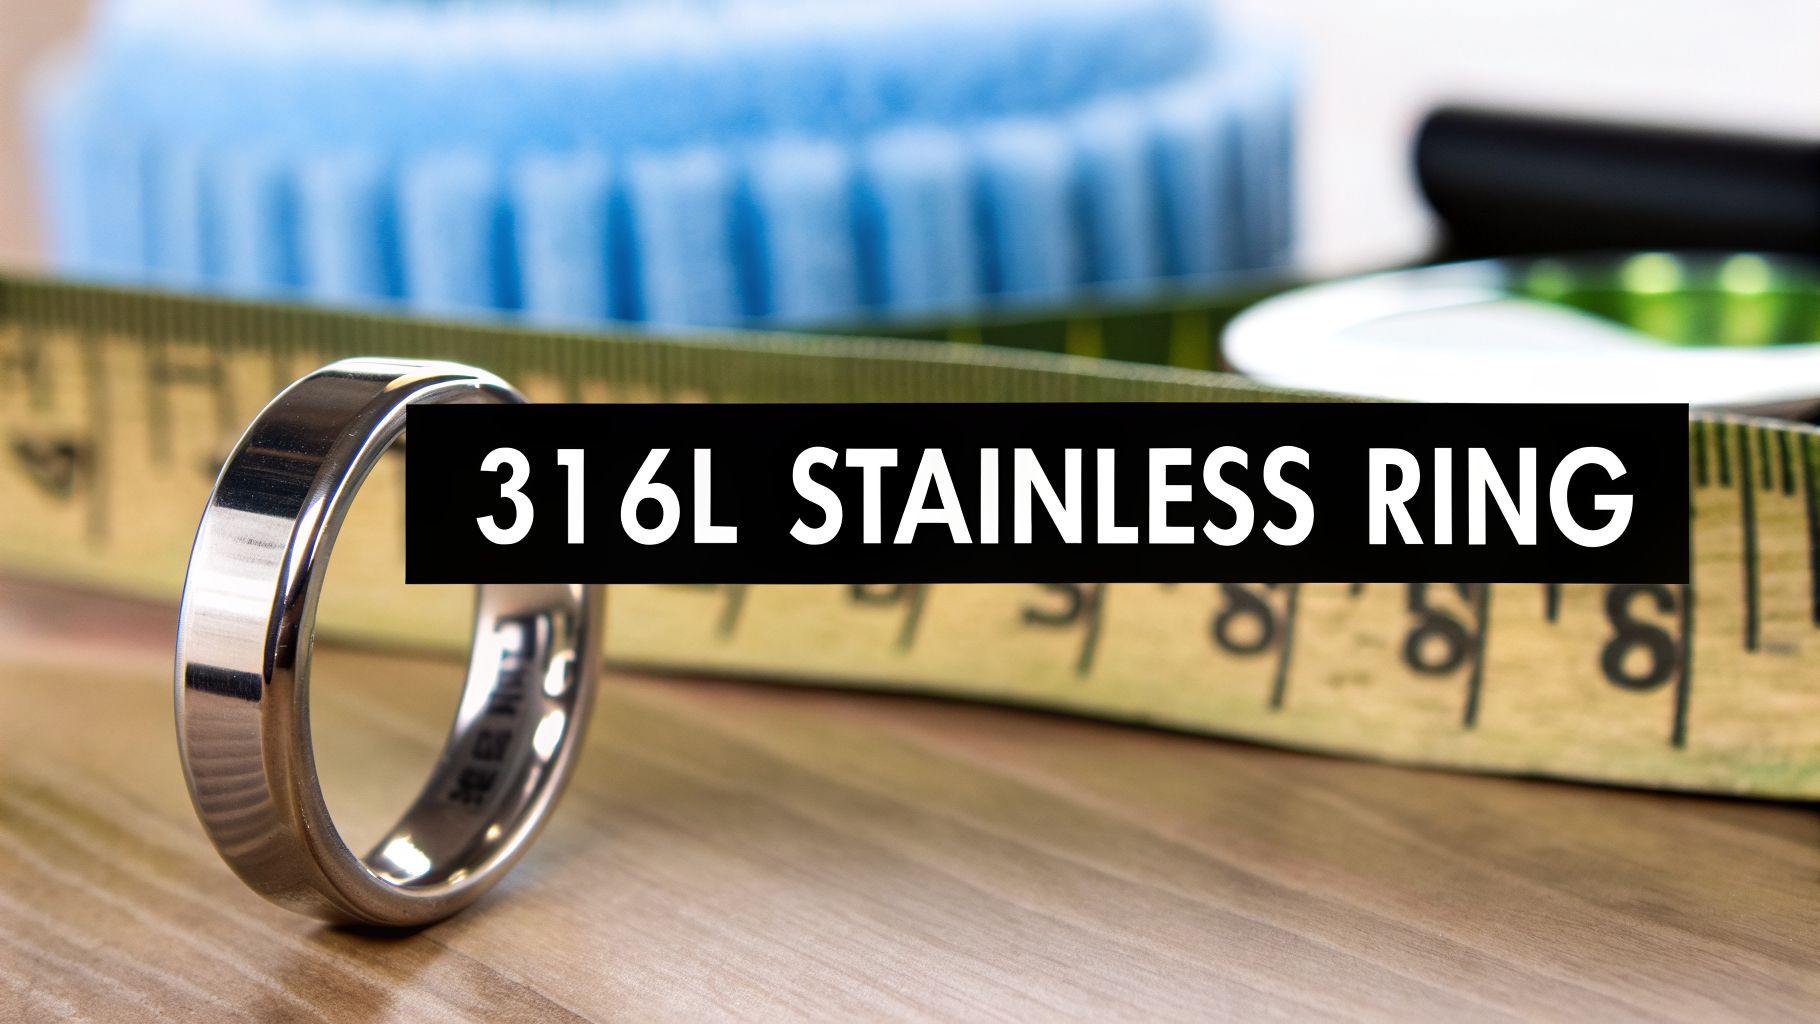
- High-Quality Jewelry: A professional studio will start you with jewelry that your body will love. That means implant-grade titanium or solid 14k gold. If they’re trying to sell you on mystery metal or even "surgical steel," it's a hard pass.
Your Piercing Appointment From Start to Finish
Alright, you've done the research and picked your piercer. Now for the fun part! Walking into the studio for your second lobe piercing should be all excitement, no nerves. Knowing the play-by-play of what's about to happen really helps take the mystery out of it, so you can just focus on the awesome new jewelry you're about to get.
First up, you'll tackle a bit of quick paperwork. This is totally standard and usually involves a consent form and some basic questions about your health history and any allergies. Be honest here—it’s for your own safety and helps the piercer do their best work. This is also the perfect moment to ask any of those last-minute questions buzzing around in your head.
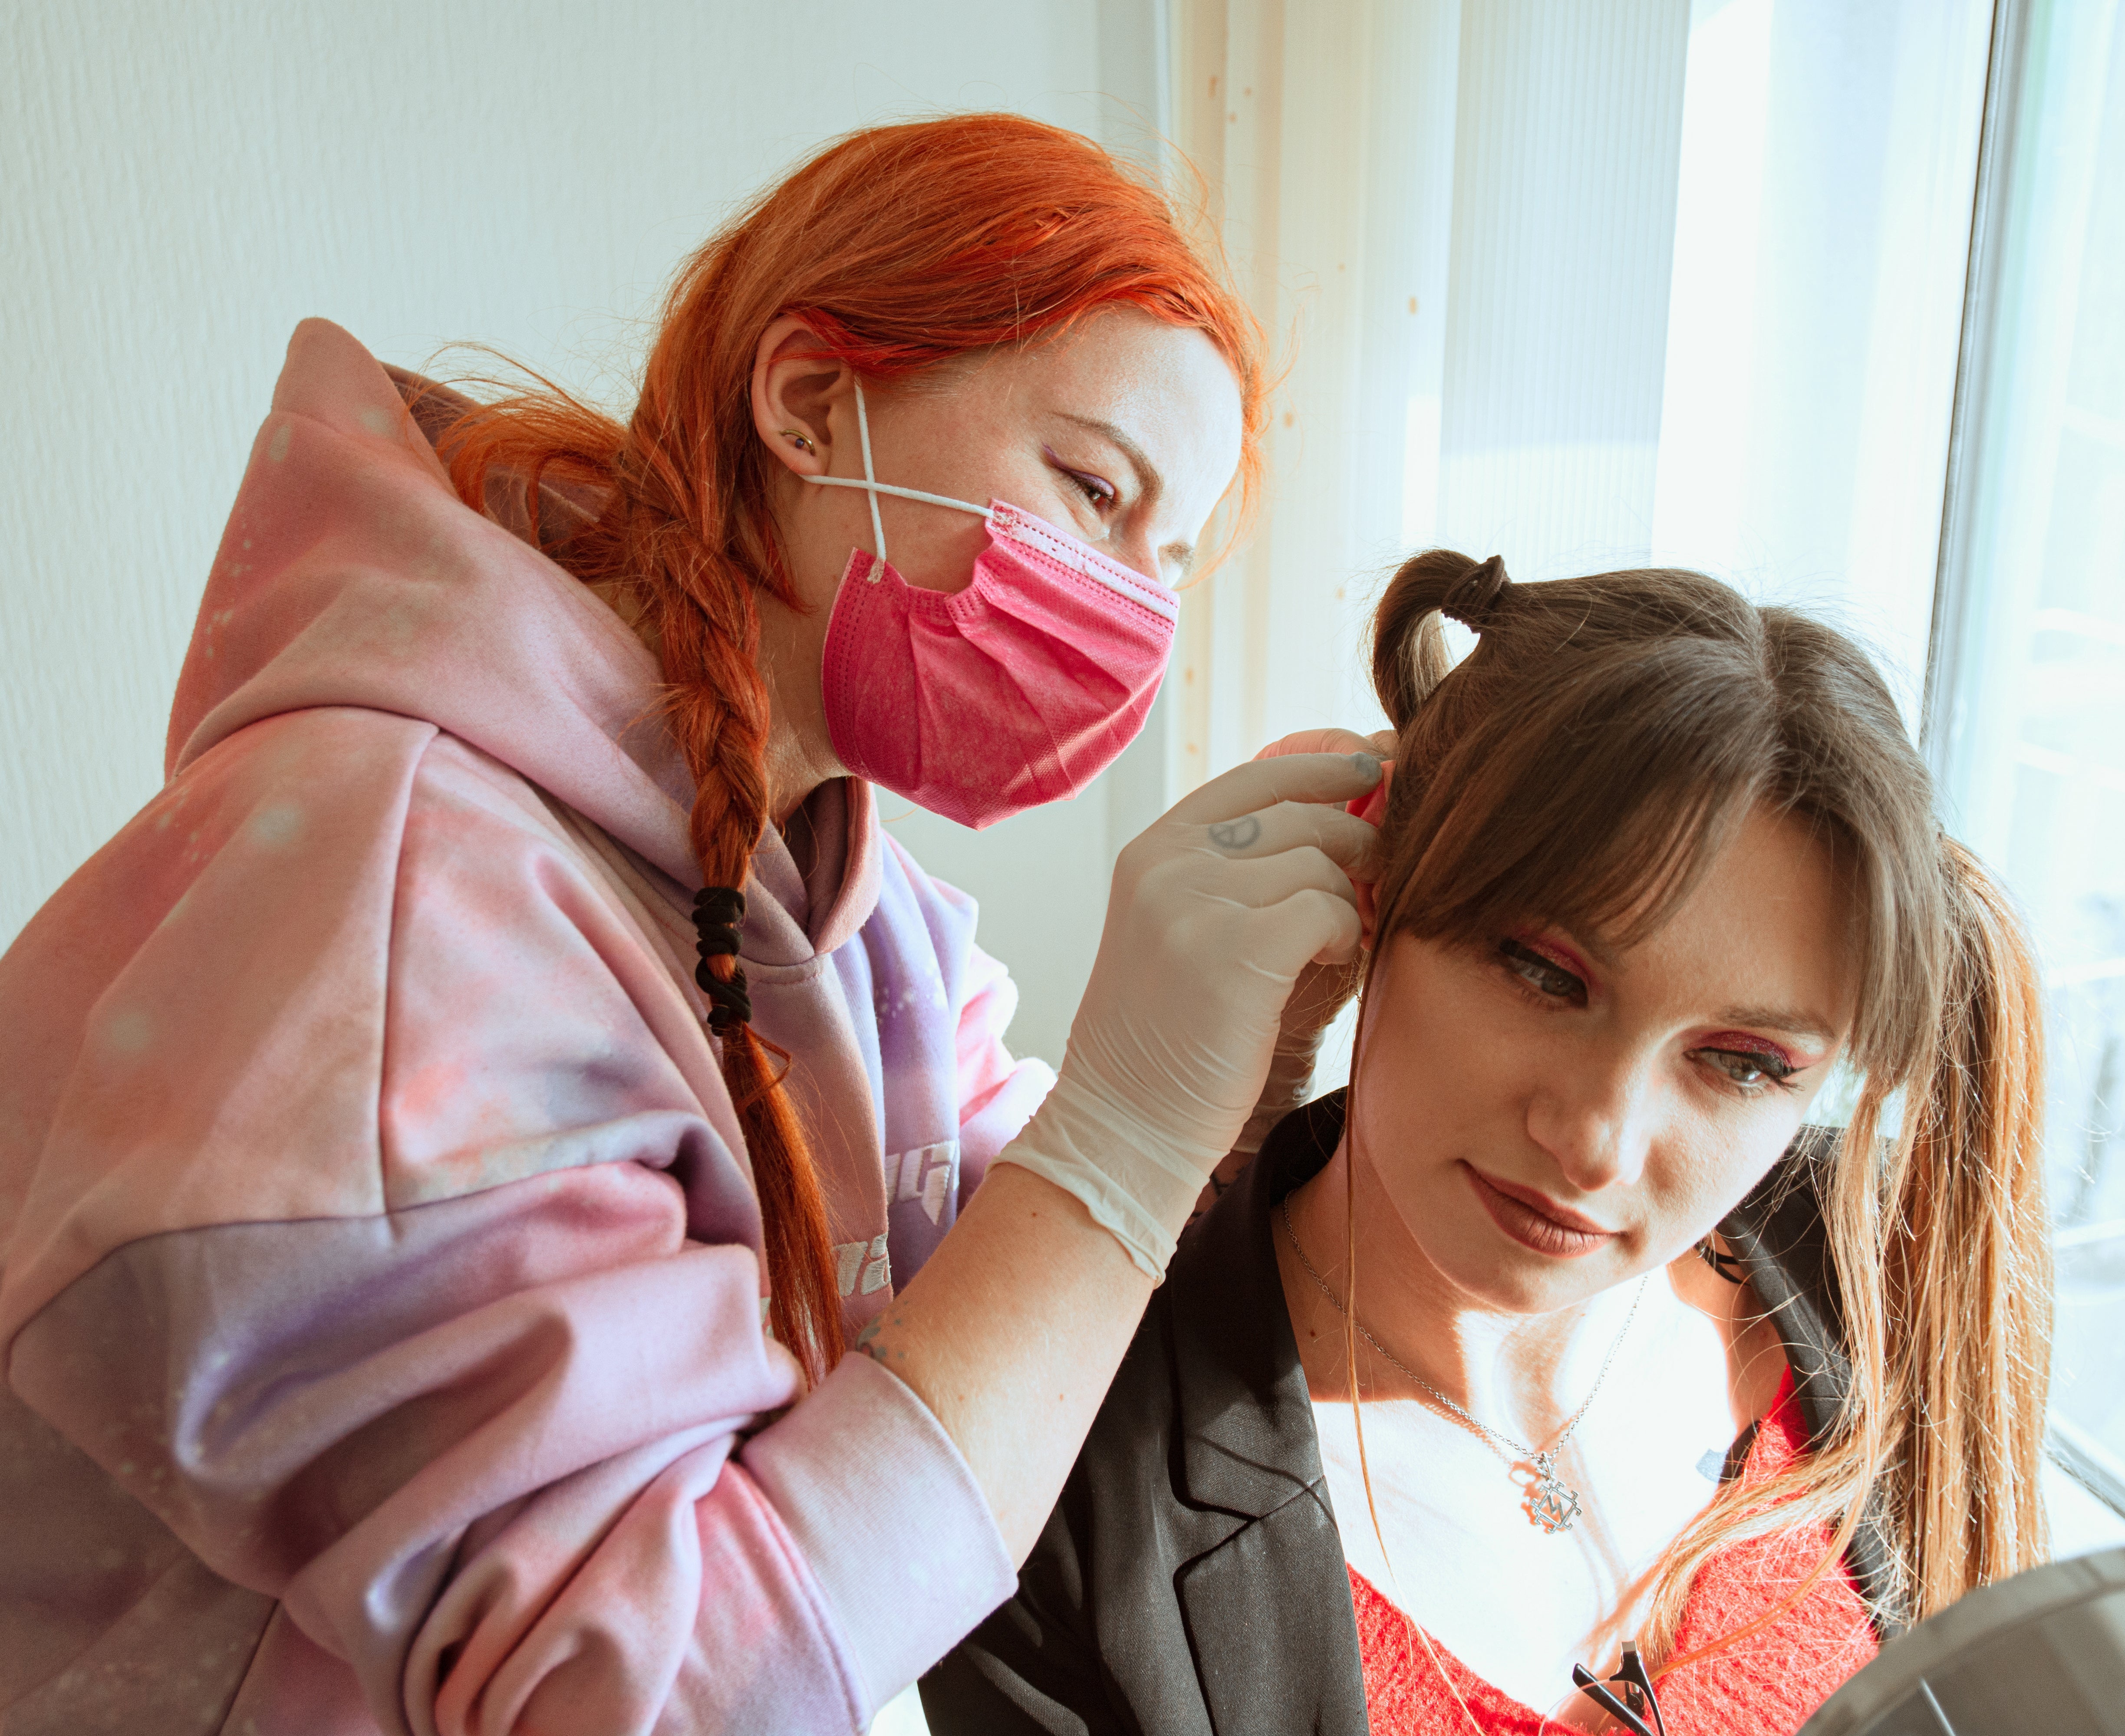
The Consultation and Marking
Now we get to the creative stuff. Your piercer will take you back to the piercing room to chat about placement. Think of this as a team effort. They're the expert on what’s safe and will heal well with your ear’s anatomy, but you’re the boss when it comes to the final look.
After wiping your ear with an antiseptic, they’ll use a sterile, single-use skin marker to place a small dot. They'll hand you a mirror—this is your moment to be picky! Check it from every angle. Want it a little higher? A bit to the left? Speak up! A good piercer wants you to be 100% happy with the spot before a needle ever comes near you.
The Piercing and Aftermath
Once you give the final thumbs-up on the placement, it's go time. This part is incredibly fast.
Your piercer will have you get comfortable, either sitting or lying down. They'll put on a fresh pair of gloves and open all the sterile equipment right in front of you, including the needle and your starter jewelry. This transparency is a huge green flag and the sign of a true professional.
Take a deep breath in, and as you breathe out, your piercer will make the piercing in one quick, smooth motion. Honestly, it’s over before you have time to really process it. You'll feel a quick, sharp pinch that fades almost immediately. They'll then insert your shiny new starter jewelry, and you're done!
Your piercer will hand you that mirror again to admire your new addition. It's completely normal for your ear to feel warm, look a bit red, and even throb a little right after. That’s just your body’s natural reaction. If this is all new to you, get the full scoop by checking out our guide on how to prepare for a first-time piercing.
Before you bounce, your piercer will walk you through aftercare. Pay close attention, because this is the most critical part of a happy, healthy piercing. They'll tell you exactly what to clean it with (sterile saline solution only!), how often, and what to avoid. You'll leave feeling confident and, more importantly, already rocking your new look.
Mastering Aftercare for a Fast and Easy Heal
The piercing is done, but now the real work begins: healing. Honestly, nailing your aftercare is the single most important thing you can do to avoid problems and get your second lobes happy and healthy. Think of this as your playbook for the next 6 to 8 weeks!
At the end of the day, your new piercing is a small wound, and you need to treat it that way. The goal is simple: keep it clean, keep it dry, and keep it free from any and all irritation.
It’s time to forget everything you might have heard about twisting the jewelry or cleaning it with alcohol or peroxide. Those are just outdated myths that actually do way more harm than good. Your body is a pro at healing; your job is just to create the perfect environment for it to do its thing.
Your Daily Cleaning Ritual
Consistency is absolutely everything here. You’ll need to clean your piercing twice a day, every single day, for the entire healing period. Once in the morning, once at night. That's it. It might be tempting to clean it more, but over-cleaning can be just as bad as not cleaning enough, as it can irritate the piercing and wash away the good stuff your body produces to heal.
Your one and only cleaning tool should be a sterile saline wound wash. I'm not talking about homemade salt water; you need a specific, sterile solution that is perfectly balanced to be gentle and effective.
Here’s your super simple routine:
- Wash Your Hands First: This is non-negotiable. Always start by scrubbing your hands with antibacterial soap before you even think about touching your piercing.
- Spray, Don’t Swab: Liberally spray the front and back of your piercing with the saline solution. Let it really soak the area. No need to be shy!
- Gently Pat Dry: Grab a clean paper towel or some sterile non-woven gauze and gently pat the area completely dry. Cloth towels are a huge no-no, as they can snag on your jewelry and are breeding grounds for bacteria.
And you're done. Seriously. No twisting, no turning, and definitely no picking at it. Just let the saline do its work and leave the piercing alone the rest of the day.
What's Normal and What's Not
For the first few weeks, your body is going to be in full-on healing mode. It’s totally normal to experience a few minor things, and knowing what to expect can save you a ton of stress.
You'll almost certainly see some redness, a bit of swelling, and feel some tenderness for the first few days. It's also super common to see a clear or whitish fluid that dries into "crusties" around your jewelry. This is just lymph fluid, and it’s a sign of healthy healing, not an infection!
That said, there are some definite red flags you should never, ever ignore. If you notice any of the following, it’s time to get in touch with your piercer or a doctor right away:
- Thick, yellow, or green pus-like discharge that has a foul odor.
- Severe pain, intense swelling, or dark redness that gets worse after the first couple of days.
- You develop a fever or see red streaks spreading out from the piercing site.
These are potential signs of an infection that needs professional attention, pronto. For a deeper dive, check out our guide on the best ways to use an H2Ocean aftercare spray, which is a favorite among professional piercers.
To help you visualize where this all starts, this timeline shows exactly what happens during the appointment itself, which sets the stage for the healing to come.

This quick, three-step process—marking, piercing, and inserting the jewelry—is the start of your journey. Seeing what your piercer did helps you understand why a clean, hands-off aftercare approach is so crucial for the little wound they created.
Styling Your New Second Lobe Piercing
Alright, you've patiently made it through the healing phase—high five! Now we get to the absolute best part of adding a second lobe piercing: finally swapping out that initial stud and building your dream ear stack. This is where you really get to play and let your personality shine.
A second lobe piercing is the perfect foundation for telling a story with your jewelry, whether you're into a super clean, minimal look or you're ready to go all-out with a full-on ear party.

First Things First: Choose Materials That Love Your Ears
Before you start adding a million things to your cart, let's get serious about materials for a second. Even a fully healed piercing can throw a fit if you put the wrong jewelry in it. Sticking with high-quality, body-safe metals is the key to keeping your lobes happy and irritation-free.
-
Implant-Grade Titanium: This stuff is the undisputed champ for a reason. It's completely hypoallergenic, super lightweight, and it won't tarnish. If you have sensitive skin, this is your new best friend for everyday wear.
-
14k Gold and Up: Who doesn't love the look of gold? Just make sure you're getting the real deal—solid 14k or 18k gold. Gold-plated pieces can wear down over time, exposing your skin to whatever mystery metal is underneath, which can definitely cause a reaction. Stick with quality pieces, like our collection of solid gold flat back studs, to keep things comfortable.
-
Surgical Steel: While it’s better than no-name metals, surgical steel often contains trace amounts of nickel, a very common skin allergen. If you’ve worn it before with no issues, it can be a good budget-friendly choice. But when in doubt, titanium is always the safer bet.
Trust us on this one: investing in quality jewelry from the start is a total game-changer. A happy, non-irritated piercing is a thousand times easier to style and looks infinitely better.
Styles That Shine in a Second Lobe Piercing
Your second lobe is prime real estate for adding detail and dimension. It's the perfect spot to experiment with different sizes, shapes, and textures to complement what you've got going on in your first piercing.
Tiny Studs and Flat Backs You can't go wrong with a classic. A tiny, sparkly stud is a go-to choice that adds a delicate touch without stealing the show from a statement earring in your first lobe. It just works. Our collection of tiny flat back earrings is full of perfect little options to add that subtle pop.
Huggies and Small Hoops Want to create a more layered, stacked look? A small huggie hoop in your second lobe is a fantastic move. It creates this beautiful cascade effect, especially when you pair it with a slightly larger hoop in your first hole. Pro tip: try mixing metals, like a gold hoop in your first lobe and a silver huggie in your second, for a modern, on-trend look.
Dainty Dangles and Chains If you're feeling a bit more creative, your second lobe makes a great anchor point for a delicate chain or a tiny charm. You can even find awesome pieces designed to connect your first and second piercings, creating a unique look that's both edgy and elegant.
Ultimately, there are no rules. Your ear is your canvas, and that second piercing just gave you a whole new palette to work with. Mix it up, match it, and create a stack that's 100% you.
Common Questions About Second Lobe Piercings
Alright, so you're this close to getting that second lobe piercing, but a few questions are still rattling around in your head. That's totally normal. It’s smart to have all your ducks in a row before you commit.
We’ve pulled together the most common questions we hear from people just like you. Think of this as the final rundown to get you feeling 100% ready for your appointment.
How Much Does a Second Lobe Piercing Hurt?
This is the big one, the #1 question on everyone's mind. The honest answer? Not much at all. On a pain scale, most people put a second lobe piercing at a 2 or 3 out of 10. It’s going through the same soft, fleshy tissue as your first piercing, so the feeling is almost identical.
You’ll feel a quick, sharp pinch for a split second. After that, it might feel warm and throb a little, but that fades pretty fast. A lot of people say the second one stings a tiny bit more than the first, but that's usually just because you know what's coming this time! It's over before you even have a chance to really think about it.
How Can I Make Sure My Piercings Are Symmetrical?
Getting that perfect, balanced look is all about teamwork between you and your piercer. The most important part of the whole process is the marking stage, right before the needle comes out. This is your chance to be the art director of your own ear.
Here’s how you can work with your piercer to get it just right:
- Lean on Their Expertise: Your piercer has seen thousands of ears. They’ll suggest a placement that works with your specific anatomy and looks great.
- Don't Be Shy, Speak Up! This is your ear, so your opinion is the only one that matters. Grab the mirror and look from every angle. Want it a little higher? Closer to the first one? Let them know. Your input is essential.
- Think About Your Future Jewelry: Are you dreaming of a stack full of tiny hoops? You'll need to make sure there's enough room so they don't crowd each other. Tell your piercer your styling plans.
A great piercer will never move forward until you give them an enthusiastic "YES!" on the placement. They want you to be obsessed with your new piercing.
What Is the Best Jewelry for Sensitive Skin?
If your skin gets angry easily or you know you have a nickel allergy, your choice of starter jewelry is everything. Seriously, this is the key to an easy, drama-free healing journey. You should only ever be pierced with hypoallergenic, body-safe materials.
Your safest bets are always going to be:
- Implant-Grade Titanium: This is the top-tier choice for any fresh piercing. It's what's used for medical implants for a reason—it’s completely nickel-free, super lightweight, and your body is extremely unlikely to react to it.
- 14k or 18k Solid Gold: If you're a gold person, make sure it’s solid gold, not plated. Gold-plated jewelry is just a thin coating over a cheaper base metal (which often has nickel). That plating can wear off and expose your healing piercing to irritants.
Double-check with your piercer that they're using one of these high-quality metals. It will make a world of difference in how well and how quickly your 2nd ear lobe piercing heals.
You've got the knowledge, you've got the confidence—now all you need is the perfect jewelry to bring your vision to life. At BodyCandy, we have thousands of high-quality, body-safe options to help you build the ear stack of your dreams.
Ready to start styling? Explore our huge collection of flat back earrings and studs today!