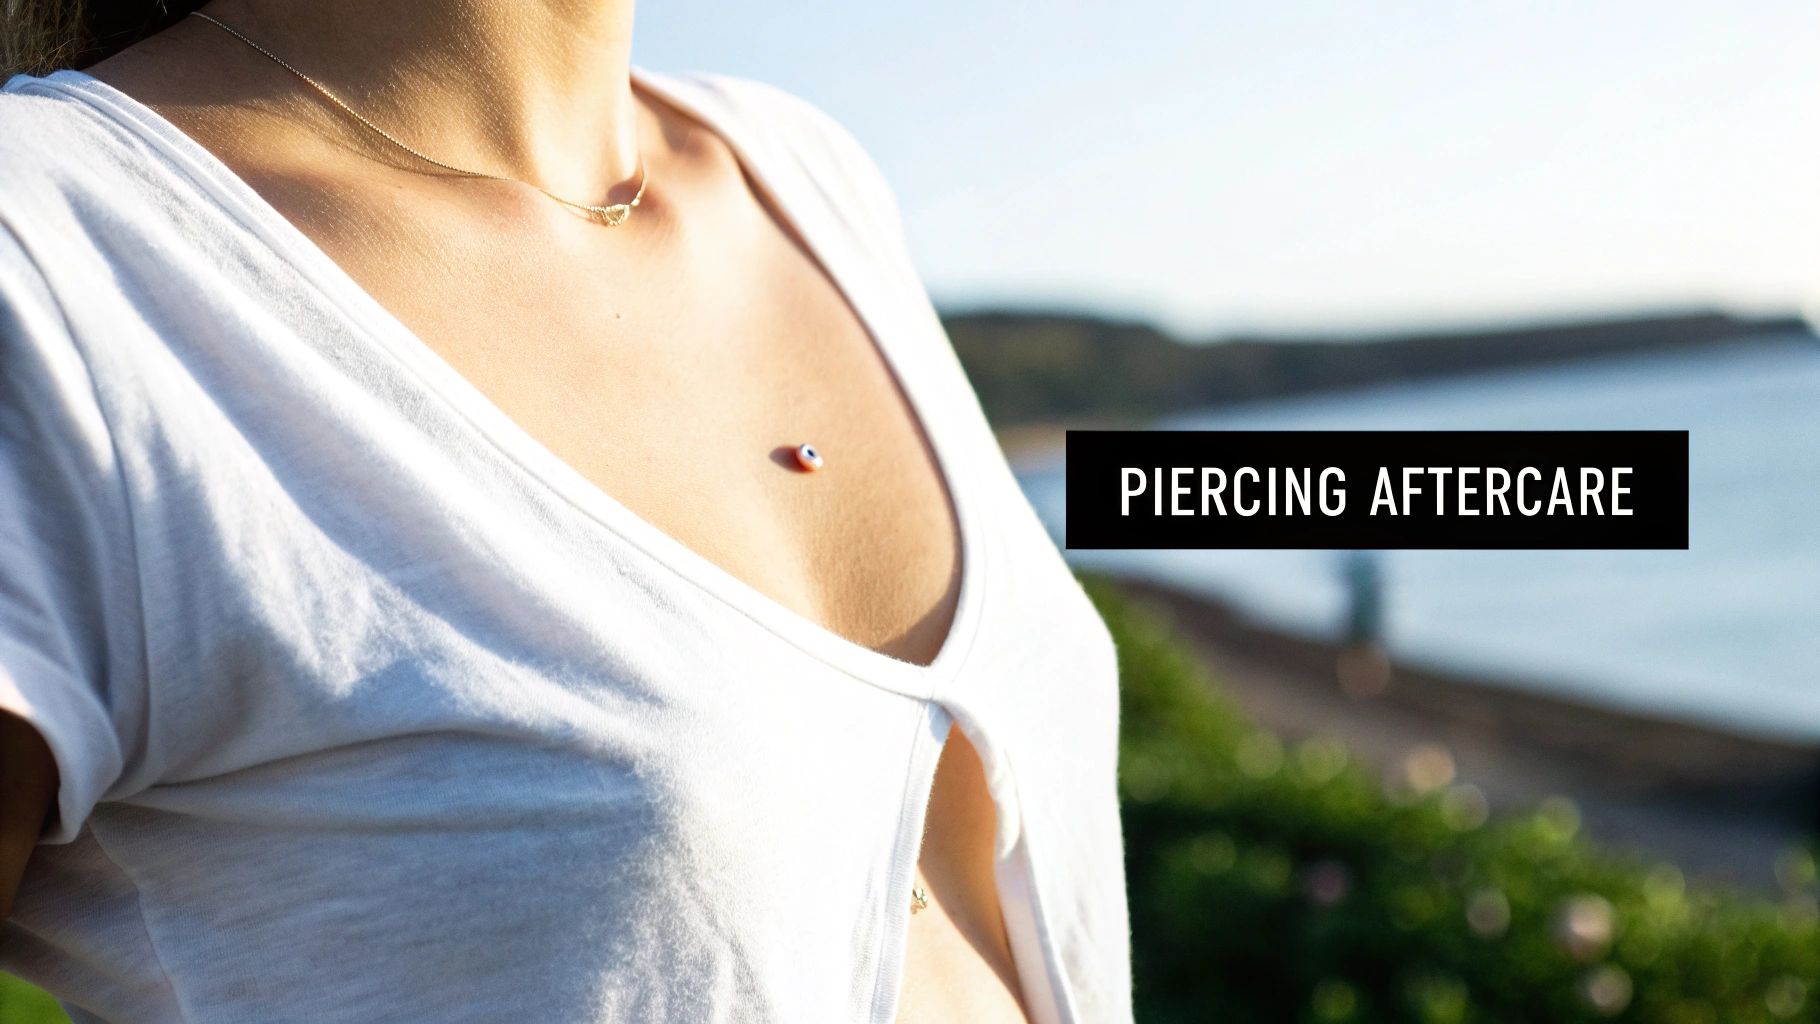
So, you did it—welcome to the club! Getting your nipples pierced is a huge rush, but the real work starts now. Proper aftercare is everything for a healthy, happy piercing, and it really boils down to two things: consistent cleaning and avoiding irritation.
Think of this guide as your new best friend, here to walk you through every step without the stress. We'll cover the absolute must-dos (like your daily cleaning ritual), the hard-and-fast "don't-even-think-about-its," and everything in between for a smooth, drama-free healing journey that can take anywhere from 6 to 12 months.
Your Nipple Piercing Aftercare Journey Begins
Nipple piercings have exploded in popularity, shifting from a niche mod to a mainstream statement of confidence and style. That's not just a feeling; the numbers back it up. One report showed they made up over 20% of all piercings done at a major studio right after the initial pandemic shutdown, a huge jump from just 11% before. This surge put a bigger spotlight on solid aftercare, proving just how crucial a good cleaning routine is.
Key Takeaway: Your commitment to aftercare is just as important as choosing the right piercer. When it comes to healing nipple piercings, consistency is everything.
The Healing Timeline: What to Expect
The healing process isn't a race; it's a marathon that happens in stages. Knowing what your body is up to can make the whole experience way less intimidating. Each phase has its own focus, from managing that initial sensitivity to rocking your fully-healed look.
Here’s a quick summary of what to expect during each stage of the healing process.
| Healing Stage | Typical Duration | What to Focus On |
|---|---|---|
| The Initial Stage | Weeks 1-4 | This is when your piercing is most delicate. Expect some swelling, redness, and tenderness. Your job is to be gentle, clean as directed, and avoid all friction from clothes or activities. |
| The Middle Stage | Months 2-5 | Swelling and redness will start to fade. You might notice some whitish-yellow fluid, often called "crusties." This is totally normal lymph fluid and a sign of healing. Keep up with your cleaning routine! |
| The Final Stage | Months 6-12+ | It will look and feel much better, but it's still strengthening from the inside out. Don't be tempted to change your jewelry just yet! This is a crucial time for the fistula (the skin tube inside) to fully mature. |
Being prepared for the long haul is half the battle. If you're new to the world of piercings and want a refresher on the piercing day itself, check out our guide on what to expect for your first-time piercing.
Knowing what’s normal and what’s not will give you the confidence to navigate the healing process like a pro. We're here to help you get to that finish line so you can show off your new look with total confidence!
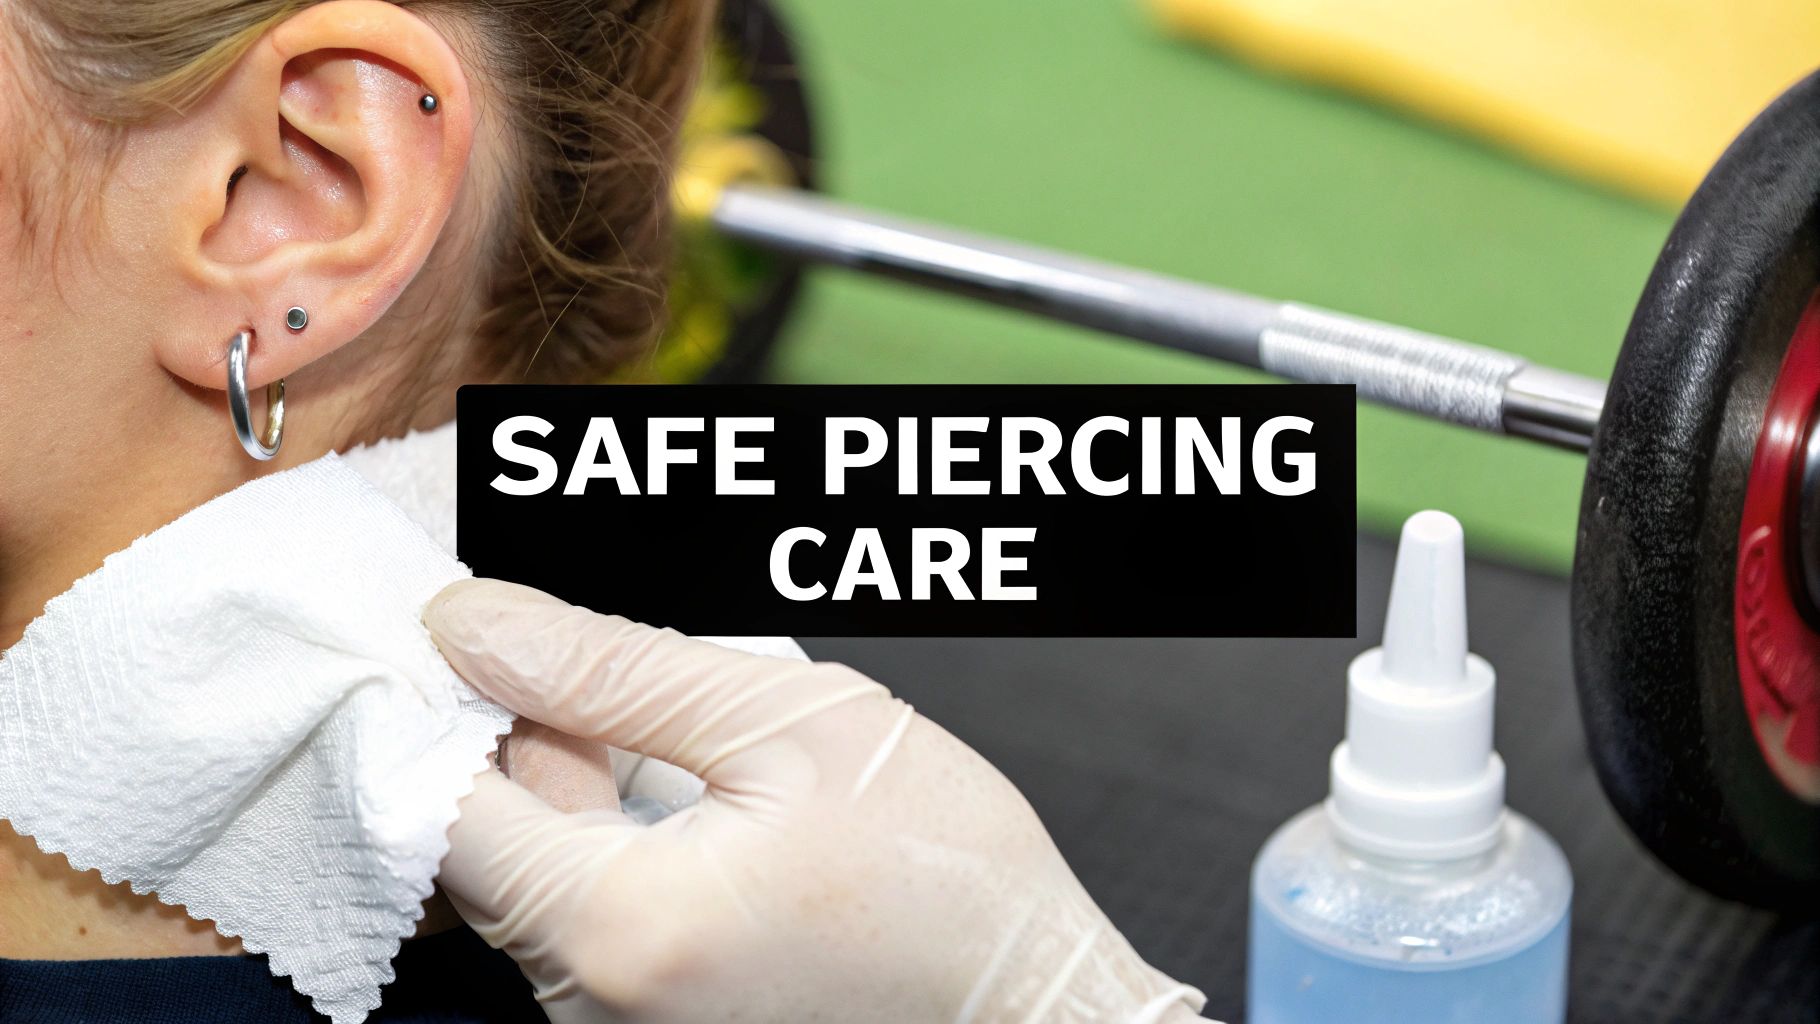
Building Your Daily Cleaning Routine

Alright, let's get into the most important part of this whole process—your daily cleaning routine. Nailing this down is the absolute secret to a happy, healthy piercing. Don't think of it as a chore; it's a simple habit that will make your healing journey so much smoother.
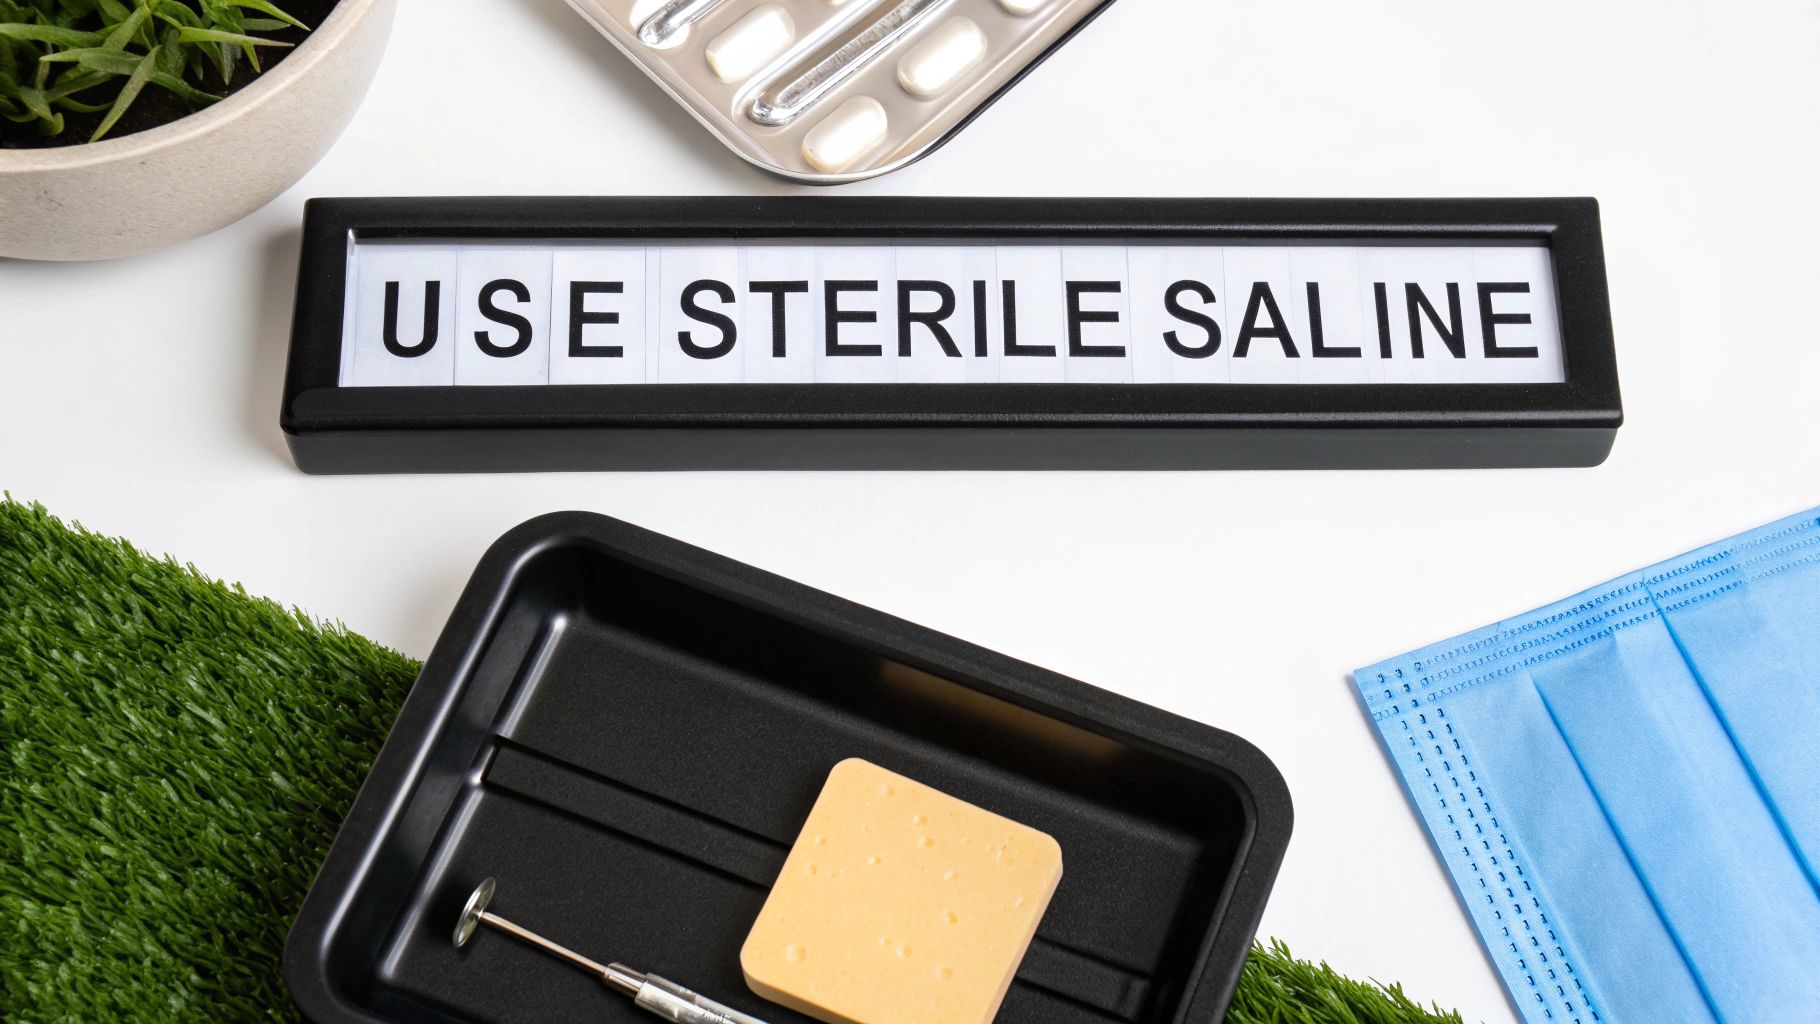
For the next few months, your new best friend is a can of sterile saline wound wash. Seriously, this stuff is magic. It’s gentle, it’s isotonic (which just means it matches your body's natural salinity), and it cleans everything perfectly without any harsh chemicals.
The Saline Solution Soak
The whole point of cleaning is to gently wash away bacteria and any "crusties" without irritating the piercing. That’s it. You don't need to be scrubbing, picking, or twisting the jewelry. That will only make things angry.
Here’s how to make this a quick part of your daily ritual:
- Hands First, Always: Before you even think about touching your piercing, wash your hands thoroughly with soap and water. This is non-negotiable.
- Spray It Down: Liberally spray the front and back of your piercing with the saline solution. Don't be shy here; you want to completely saturate the area.
- Let It Marinate: Give the saline a minute or two to really soak in. This does all the hard work for you by softening and loosening any dried lymph fluid that’s built up.
- Pat, Don't Rub: Grab a clean, disposable paper towel and very gently pat the area dry. Steer clear of bath towels or Q-tips—they can leave behind fuzzy fibers that get tangled in your jewelry and cause major irritation.
This simple process is all you need. You're flushing the area and keeping it clean without any drama.
Finding the Right Cleaning Frequency
With piercing aftercare, consistency is king, but you can have too much of a good thing. It’s tempting to think more cleaning is better, but over-cleaning will just dry out your skin and lead to irritation.
For most people, cleaning twice a day is the sweet spot. A quick clean in the morning and another before bed is the perfect rhythm to keep things pristine without going overboard.
Pro Tip: Your body is an incredible healing machine. The saline solution is just there to help things along by keeping the area clean. Trust that your body knows what it's doing—your only job is to provide a safe, clean environment for it to work its magic.
If you had a super sweaty gym session or spent the day outside, an extra rinse with saline is totally fine. Just listen to your body. If the skin starts to feel tight, dry, or looks extra red, you might be overdoing it.
Showering with Your New Piercings
Your daily shower is actually a great aftercare tool. The warm water running over your chest is fantastic for gently rinsing away any buildup without you having to touch a thing.
Just let the water flow over the piercing for a couple of minutes. This is usually enough to soften and wash away any crusties that formed overnight. Try to avoid letting a high-pressure shower stream blast it directly. Use a mild, fragrance-free soap on the rest of your body and do your best to keep the suds away from the piercing itself.
After you hop out, go right into your pat-dry routine with a fresh paper towel. Remember, a damp environment is a playground for bacteria, so getting the area completely dry is a crucial final step.
Choosing the Right Aftercare Products
Let's be real—the products you use on your new piercing can either be your best friend or your worst enemy. Getting your nipple piercing maintenance right from day one starts with having the perfect aftercare toolkit. This is your official shopping list for a happy, healthy piercing.
When you're standing in the pharmacy aisle, it's easy to get overwhelmed. But your number one, holy-grail product is simple: sterile saline wound wash. This isn't just a suggestion; it's the gold standard for a reason.
Look for a spray that has only two ingredients on the label: purified water and 0.9% sodium chloride. That’s it. This simple formula is isotonic, meaning it perfectly matches your body’s natural chemistry, so it cleans gently without causing any irritation or dryness.
What to Keep Out of Your Cart
Now for the fun part—the stuff you absolutely must avoid. It might be tempting to reach for old-school "remedies," but trust me, they will do way more harm than good for a healing piercing.
Here's the official "Do Not Use" list:
- Harsh Antibacterial Soaps: Soaps like Dial or Softsoap contain triclosan and other aggressive chemicals that are way too much for a fresh puncture wound. They strip away your skin's good bacteria and can cause extreme dryness and irritation.
- Hydrogen Peroxide & Rubbing Alcohol: These are great for cleaning countertops, not your body. They kill everything—including the healthy new cells your body is working so hard to build. This can seriously set back your healing time.
- Thick Ointments: Avoid anything like Neosporin, Bacitracin, or petroleum jelly. These ointments are occlusive, which means they create a seal over the piercing. This traps moisture and bacteria inside, basically creating the perfect breeding ground for an infection.
Key Insight: Proper nipple piercing maintenance is about creating a clean environment for your body to heal itself. Harsh chemicals disrupt this natural process, often leading to complications that could have been easily avoided.
While DIY sea salt soaks used to be popular, they're not the safest bet anymore. It's incredibly difficult to get the salt-to-water ratio exactly right at home. Too much salt will dry out your skin, and too little won't be effective. Sticking with a pre-packaged sterile saline spray takes all the guesswork out of the equation. For a deeper dive, you can explore the benefits of H2Ocean aftercare products which are specifically formulated for piercings.
Your Jewelry is an Aftercare Product Too
You might not think of it this way, but the jewelry in your piercing is a critical part of your aftercare. The material and fit of your initial barbell play a huge role in how well you heal. Your piercer will start you off with a longer bar to accommodate for that initial swelling, which is totally normal.
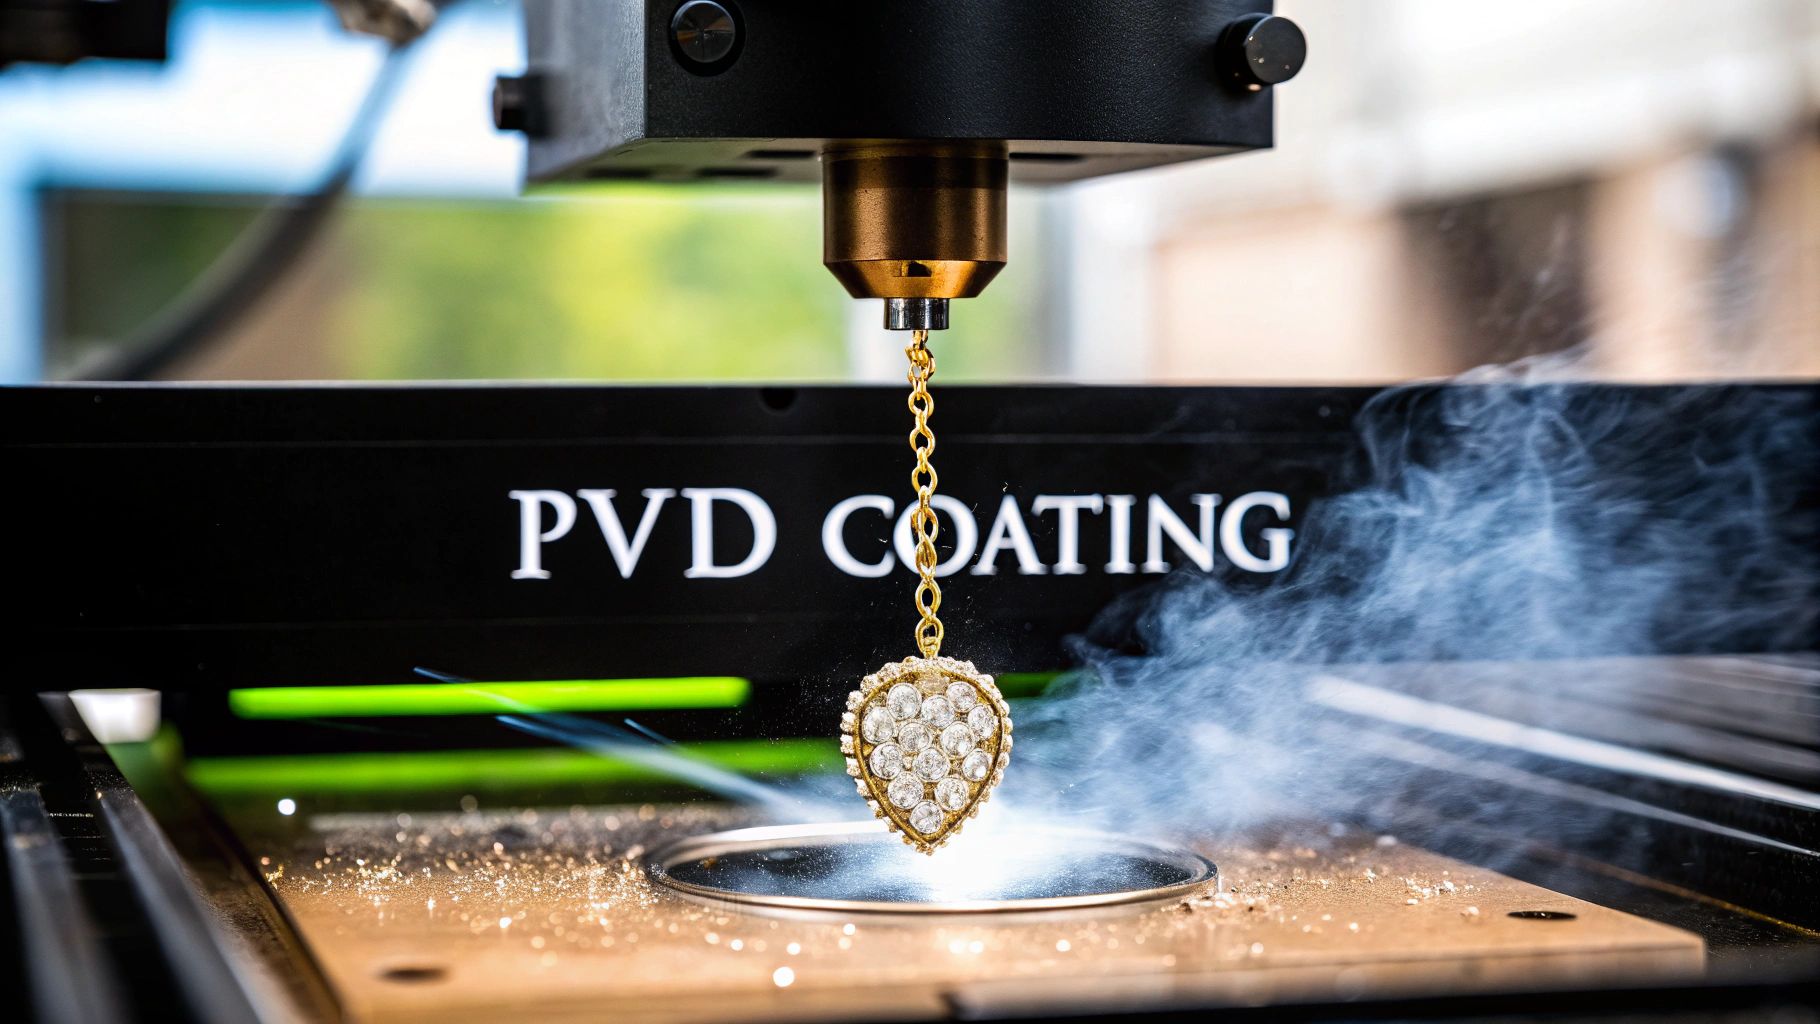
The quality of the metal is non-negotiable. For a fresh piercing, you should only be wearing high-quality, body-safe materials.
- Implant-Grade Titanium (ASTM F-136): This is a top-tier choice. It’s nickel-free, lightweight, and incredibly biocompatible, meaning your body is very unlikely to have a reaction to it.
- 14k or 18k Solid Gold: If you're a gold lover, make sure it's solid, not plated. Plated jewelry can flake off and expose the mystery metal underneath, which is a recipe for irritation. Stick to nickel-free gold alloys.
Good products are key to avoiding trouble. Research shows that complications from nipple piercings were reported in nearly a third of cases, with about 14% needing professional help. The most common advice to prevent this? Using a saline solution and wearing appropriate jewelry. You can discover more insights about piercing aftercare trends on Statista.com.
Lifestyle Habits and Common Mistakes to Avoid
A solid aftercare routine is more than just a twice-daily saline rinse. Your everyday habits play a huge role in how well your new nipple piercings heal. Think of it this way: your cleaning is the active part, but adjusting your lifestyle is how you play defense, protecting them from irritation and setbacks.
Let’s get into the simple, smart tweaks that will keep your piercings happy and on the fast track to healing. These small changes can genuinely make or break your entire experience.
Dress for Healing Success
What you wear matters. A lot. Friction is the absolute enemy of a new piercing, and the wrong clothes can feel like sandpaper against that sensitive, healing tissue. For the first few months, your wardrobe should be all about being gentle.
- Go for Soft Fabrics: Stick with soft cotton bras, comfy bralettes without a lot of seams, or even just loose-fitting shirts. Anything that lets your skin breathe and doesn't rub is a winner.
- Say Goodbye to Lace (For Now): That beautiful lace bra? It's going to have to wait. Intricate patterns and rough textures are notorious for snagging on jewelry. Trust me, that's a kind of pain and irritation you want no part of.
- Sports Bras for Activity: When you're working out or doing anything active, a supportive sports bra is your best friend. You want something snug—but not suffocating—to keep the jewelry from moving around and getting bumped.
The goal is simple: create a soft, protective bubble around your piercings. A little bit of thought when you're getting dressed can prevent a whole lot of pain later.
Navigating Sleep and Other Activities
You can’t really control how you move in your sleep, but you can definitely set yourself up for a peaceful night. Sleeping directly on your stomach is a major no-go. The constant pressure can cause major swelling and might even make your piercings heal at a crooked angle.
Try to sleep on your back if possible. If you’re a die-hard side-sleeper, use pillows to prop yourself up and take the direct pressure off your chest. Some people even swear by wearing a clean, soft cotton shirt to bed to keep the jewelry from catching on their sheets.
Crucial Tip: For at least the first month (though longer is always better), you need to avoid submerging your piercings. That means pools, hot tubs, lakes, and oceans are completely off-limits. They are breeding grounds for bacteria that would love nothing more than to cause an infection.
It’s a temporary sacrifice, but it’s one of the most important things you can do for a healthy, long-lasting piercing.
The Biggest Mistakes and How to Sidestep Them
Knowing what not to do is just as important as knowing what you should be doing. So many healing complications come from simple, avoidable mistakes that people don't even realize they're making.
The number one mistake? Touching your jewelry. It is so tempting to play with it, twist the barbell, or pick at the "crusties." Just don't. Your hands are covered in germs, and every time you touch the piercing, you're inviting bacteria in and irritating that delicate healing tissue. Let your saline spray and the shower do their jobs.
Another huge error is changing the jewelry way too soon. Your piercing might look healed from the outside after a couple of months, but the fistula—the tube of skin forming on the inside—takes much longer to fully mature. We're talking six months to a full year. Swapping out that initial barbell for something new and cute can tear that internal tissue and set your healing right back to day one.
The data doesn't lie. One well-known studio reported that of the 1,276 nipple piercings they did in one year, about 30% of clients experienced complications. Their top advice? Clean twice daily with saline and, most importantly, don't change the jewelry until it's fully healed. You can dive into more piercing statistics yourself, but the takeaway is clear: patience is everything.
To make it even clearer, here's a quick cheat sheet for your daily habits. Getting these right is a game-changer for your healing journey.
Do This, Not That: A Quick Guide to Daily Habits
| Situation | The Right Way (Do This) | The Wrong Way (Avoid This) |
|---|---|---|
| Getting Dressed | Wear a soft cotton bra, a loose shirt, or a snug sports bra for exercise. | Wearing a lacy or rough-textured bra that can snag the jewelry. |
| Sleeping | Sleep on your back or use pillows to prop your side to avoid pressure. | Sleeping directly on your stomach, crushing the piercings. |
| Cleaning | Gently spray with sterile saline solution and let warm water run over it in the shower. | Touching, twisting, or rotating the jewelry. Picking at crusties with your fingers. |
| Changing Jewelry | Wait for the full healing period (6-12 months) and have a professional piercer do the first change. | Swapping out the jewelry after only a few weeks because it "looks healed." |
| Recreation | Stick to showers and avoid submerging the piercing for at least a month. | Going swimming in pools, hot tubs, lakes, or the ocean during initial healing. |
Following these simple "do's" and avoiding the common "don'ts" will seriously improve your chances of a smooth, uneventful healing process. It's all about being mindful and giving your body the best possible environment to heal.
Troubleshooting Common Healing Issues
It’s completely normal to be a little paranoid about a new piercing. We’ve all been there—constantly checking it in the mirror, wondering if that tiny bit of redness is a huge deal or just part of the process. Let's clear the air so you can relax and learn the difference between what's normal and what's a genuine red flag.
First, let's talk about what a healthy, healing nipple piercing actually looks like. Your body is doing some pretty incredible work, so things are bound to be a little weird for a while.
What's Normal During Healing
Think of your new piercing as a construction zone. It’s going to be a bit messy before it looks perfect. Knowing what to expect can save you a ton of stress and confirm that your nipple piercing maintenance routine is on the right track.
Here are a few things that are completely standard for a healing piercing:
- Slight Redness and Swelling: Especially in the first few weeks, the area will probably be a little pink and puffy. This is just your body’s natural inflammatory response kicking in.
- Tenderness or Itching: The area might feel a bit sore, or it could get itchy as the skin knits itself back together. It's annoying, but it's a good sign.
- Whitish-Yellow "Crusties": Ah, the infamous crusties! This is just dried lymph fluid, a totally normal byproduct of healing. Whatever you do, don't pick at it. Let your saline spray and warm shower water soften it so it rinses away on its own.
If you’re experiencing these, it’s a sign your body is doing exactly what it's supposed to. As long as these symptoms are manageable and gradually getting better over time, you’re in good shape.
Spotting the Red Flags of Infection
Okay, now for the serious stuff. While a true infection is way less common than simple irritation, you absolutely need to know the warning signs. An infection isn't just a moody piercing; it's a medical issue that needs professional attention, pronto.
Keep a close eye out for these tell-tale symptoms:
- Intense, Throbbing Pain: This isn't the same as the initial tenderness. We’re talking about a deep, persistent ache that might feel like it's getting worse.
- Thick, Dark Discharge: Normal healing fluid is thin and whitish-yellow. Pus from an infection is often thick, opaque, and can be dark yellow, green, or even brownish.
- Hot to the Touch: If the skin around the piercing feels unusually warm or hot, that's a classic sign of infection.
- Spreading Redness & Swelling: If the redness spreads far beyond the immediate piercing site or the swelling gets significantly worse after the first week, something is definitely up.
Crucial Advice: If you even suspect you have an infection, do not take the jewelry out. Removing it can trap the infection inside as the hole closes, which could lead to a painful abscess. Get in touch with your piercer or a doctor right away for guidance.
Demystifying Irritation Bumps
One of the most common freak-outs we see comes from a small bump forming near the piercing hole. Nine times out of ten, this isn't a scary keloid or a nasty infection—it's just a simple irritation bump.
These little bumps are your body's way of screaming, "Hey, something is bothering me here!" They’re usually caused by pretty common culprits:
- Snagging or Trauma: Catching your jewelry on a loofah, towel, or shirt is a classic trigger.
- Too Much Pressure: Sleeping directly on the piercing or wearing a bra that's way too tight can really aggravate it.
- Lingering Moisture: Not drying the area thoroughly after cleaning or showering creates a playground for bacteria.
- Poor Jewelry Quality: Wearing jewelry made from sketchy, mystery metals can cause an allergic reaction. If you're worried about this, our guide to piercing irritation and allergic reactions can give you more clarity.
So, what's the fix? It’s pretty straightforward: figure out what's causing the irritation and stop it. Be extra diligent with your saline soaks, make sure you're patting the area completely dry, and do your best to avoid bumping it. Patience and consistent care are your best friends when it comes to making these annoying bumps disappear.
Snagging your jewelry is a super common cause of irritation. This decision tree shows you exactly what to do when it happens.
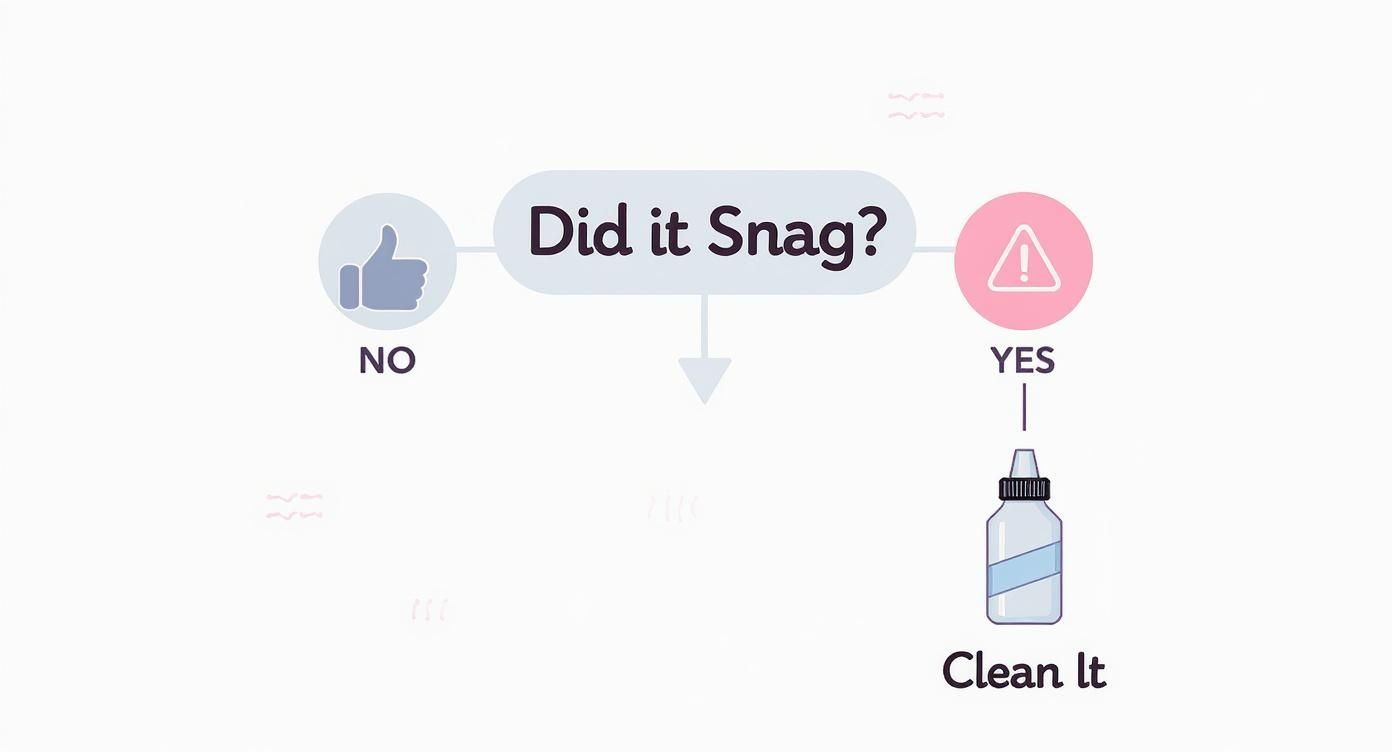
The bottom line is simple: whether you snag your piercing or not, keeping it clean is always the best way to prevent any further issues.
Your Nipple Piercing Maintenance Questions Answered
Got some burning questions swirling around? Don't sweat it, we've got you. When you're dealing with something as personal as a new piercing, there's absolutely no such thing as a silly question.
Let’s get straight to the point and answer some of the most common things we hear about keeping those new nipple piercings happy.
How Long Until I Can Change My Nipple Jewelry?
We get it. The urge to swap out that initial, plain barbell for some serious bling is real. But listen up: patience is everything with this piercing. You absolutely must wait until your piercings are fully healed before changing the jewelry just for fun. Realistically, you're looking at 6 to 12 months.
Trying to change it out too early is one of the biggest mistakes you can make. It can stir up major irritation, set your healing back weeks or even months, and open the door for nasty bacteria to sneak in. The only exception is if your piercer needs to downsize the initial bar once the swelling has gone down. Always, always get the green light from your professional piercer first.
Can I Use a Loofah or Washcloth in the Shower?
That’s going to be a hard no. Loofahs, sponges, and washcloths are notorious for snagging new piercings, which can cause some serious trauma to that delicate healing tissue. A bad snag isn't just painful—it’s a fast track to developing stubborn irritation bumps.
Healer's Tip: Just let the warm water in your shower run over your chest for a minute. This is usually enough to gently loosen up any of those little 'crusties' on its own. That's all the direct cleaning you need while you're in there.
Beyond the snagging risk, those shower tools are basically breeding grounds for bacteria. That's the last thing you want anywhere near a fresh wound. The best way to handle it is to let the water do its thing, and then when you get out, gently pat the area completely dry with a clean, disposable paper towel.
What Should I Do If I Accidentally Snag My Piercing?
First things first: don't freak out! It happens to pretty much everyone at some point. Just take a deep breath and calmly check things out.
If you see a little bit of bleeding or it's just feeling extra tender, give it a good, gentle clean with your sterile saline solution. For the next few days, be extra mindful of it. Think loose clothing and avoiding any extra friction.
But, if the snag was a bad one, the jewelry looks crooked, or you're worried the tissue might have actually torn, get in touch with your piercer right away. They're the ones who can properly assess the damage and tell you exactly what to do to get your healing journey back on track.
Ready to start daydreaming about that glorious day you can finally switch up your style? Shop our full collection of nipple jewelry today! BodyCandy has an incredible collection of high-quality barbells, rings, and shields just waiting for you. Find your perfect look and get ready to show it off